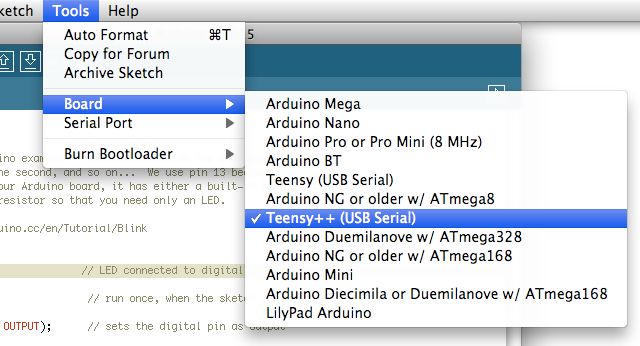
The first step is to select the Teensy or Teensy++ from the Tools -> Board
menu. If Teensy does not appear in the menu, quit the Arduino Software and
install Teensyduino.
Teensyduino uses the Teensy Loader to actually communicate
with your board, so make sure the Teensy Loader is running.
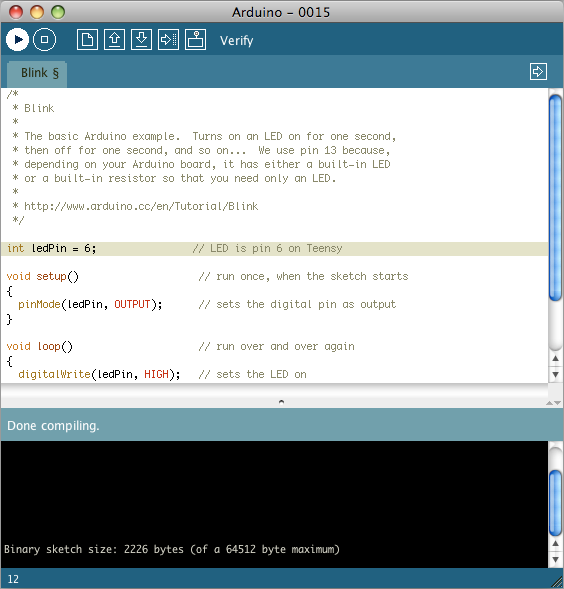
The Blink example is a good first test. You can open it with the
File->Sketchbook->Digital->Blink menu.
The Teensy has its LED on pin 11 (Teensy) or 6 (Teensy++), so you must
change the ledPin from 13 to 11 (Teensy) or 6 (Teensy++) . Then click
the Verify button to compile this sketch.
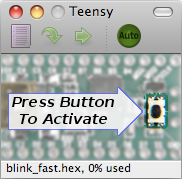
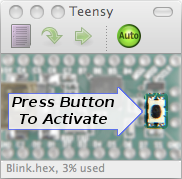
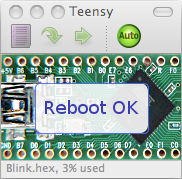
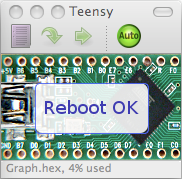
When the compile finishes, Arduino will tell you the final size. The Teensy Loader
will also automatically update with the sketch name, and Auto mode will activate.
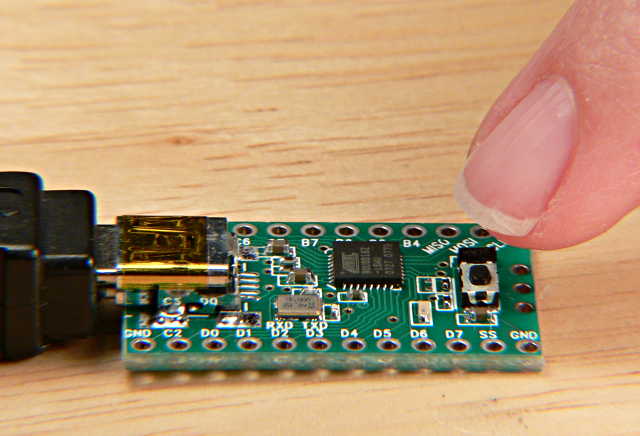
Just press the button on the Teensy.
The Teensy Loader will program your sketch and run it automatically.
Using the Serial Monitor
After your Teensy is running a sketch, you can select the serial port.
Unlike an Arduino board with a dedicated USB-serial chip, the Teensy
has direct USB hardware (which can be any type of device). Your
Teensy does not become a USB serial device
until your sketch is running. You can only select the serial port
when the Teensy is running a sketch.
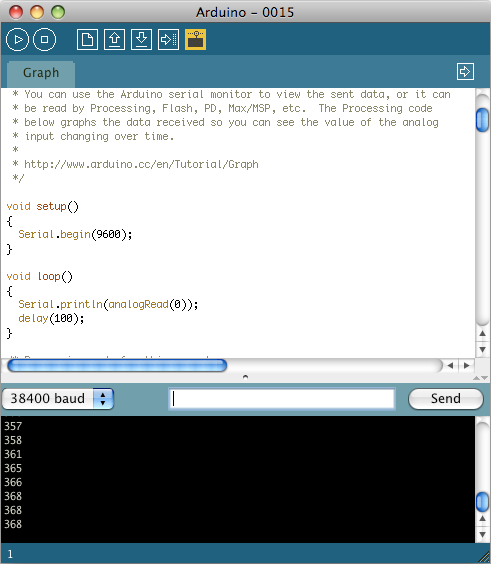
When a sketch is running that prints to the serial port, all you need
to do is click the Serial Monitor button. The following screenshot
shows the serial monitor with the "Sketchbook -> Examples -> Communications -> Graph".
Using the "Upload to I/O Board" Button
You first need to select the serial port, which can only be done while
a sketch is running. The first sketch can only be run by using Verify
and the pushbutton, as described above.
Then just click the "Upload to I/O Board" button.
After compiling your sketch, Teensyduino will send a command to
request the board to reboot. This only works
if a previously loaded sketch is still running. If the board can
not be rebooted by request, you will get an error message to let
you know the pushbutton must be pressed. If it does work, the
Teensy Loader will automatically program and run your sketch.
In the normal course of trying ideas, editing code and running each
change, clicking the Upload to I/O Board button normally works, and
is one less step than having to also press the pushbutton on the Teensy.