Trio of DIY Eurorack Modules

Scott Pitkethly (aka unicornpower on the forum & cutlasses on his blog) developed a trio of Teensy based DIY eurorack modules – Glitch Delay, Audio Freeze, and KhronoKrusher.  They all fit together in a nifty little lunchbox.

We posted about the original Glitch Delay module back in June.  The Audio Freeze module allows you to record samples and play them back with added effects.  KhronoKrusher is a lo-fi delay module that takes advantage of the new reverb effect (using Freeverb) added to the Teensy Audio library relased with Teensyduino V 1.42.

This video shows the Audio Freeze module in action.

Scott’s blog has some great information on the modules including details about how the modules work.

Code and schematics for all the modules can be found on Scott’s GitHub repository.
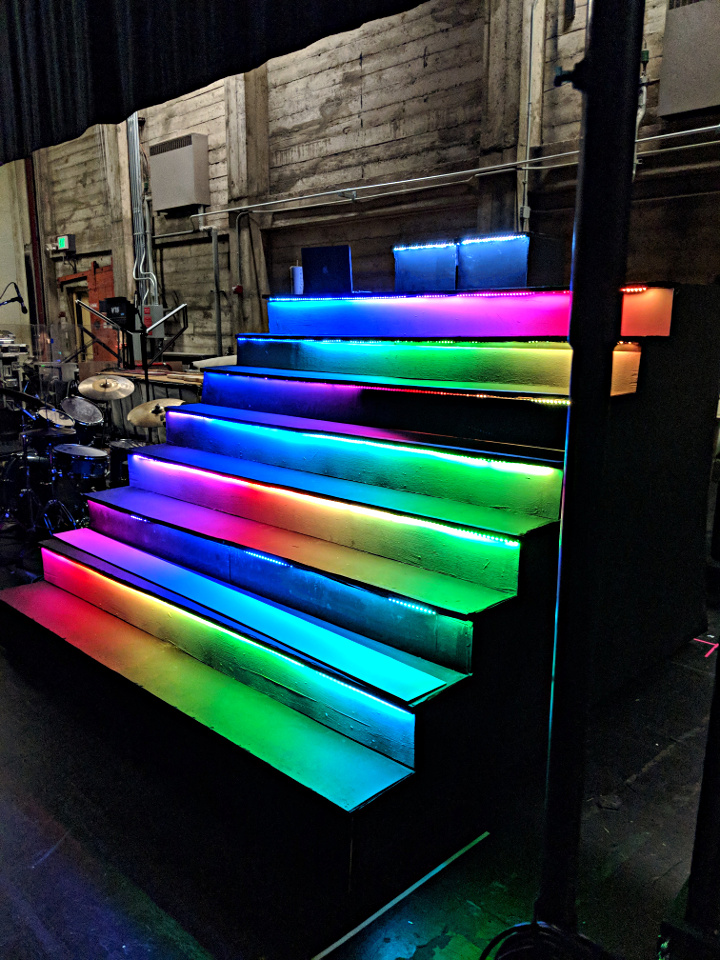


DMX Translator Board

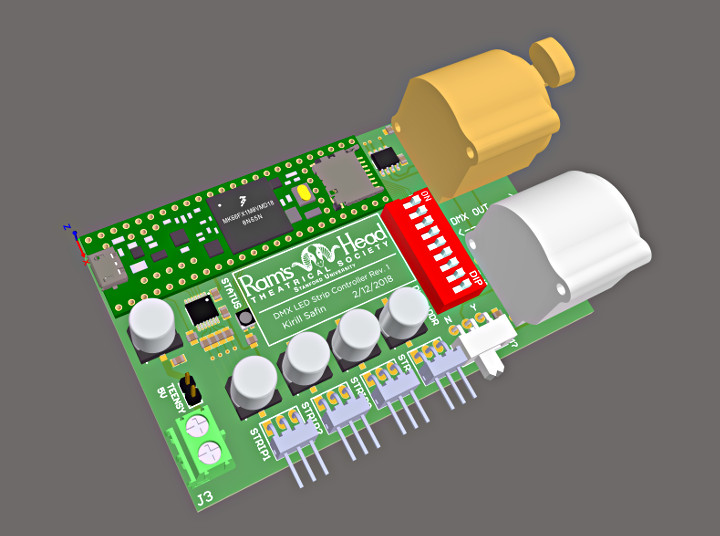
irill Safin made a DMX translator board to control lighting on a staircase from a theater lighting board over the DMX protocol.

The Amadeus Staircase was a rolling staircase that consisted of 8 steps, a total of 8 feet wide, with a small 3 foot step at the top. The intention was to allow control of the staircase lighting from a theater lighting board over the DMX protocol. There was no standard way to achieve this in an easily programmable fashion by default, so the DMX Translator board was developed. It has the following features:

  • Teensy 3.6 primary controller
  • RS485 differential to TTL Serial converter IC to interpret DMX packets
  • DIP switch for DMX address selection (0-511)
  • DMX input & output connectors, to allow daisy chaining.
  • Indicator LED for status indication.
  • Four unique LED strip outputs to control four LED strips from the controller, including level shifter.
  • Ability to selectively terminate DMX (for channel 511).

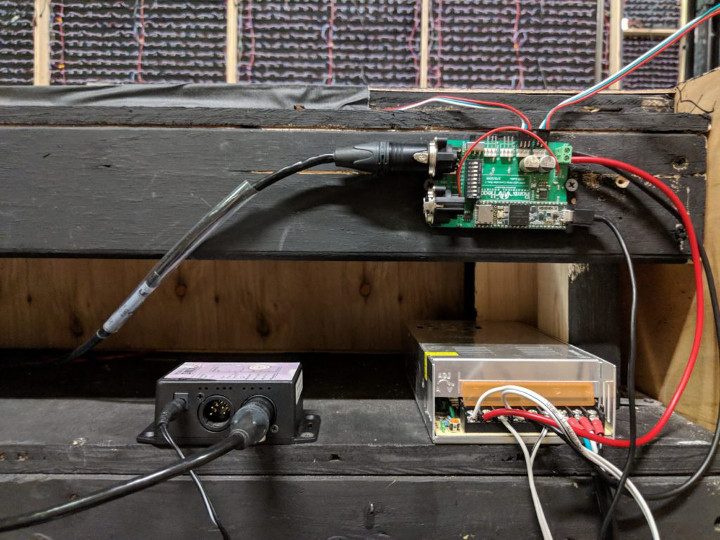
The device was powered by a 12V car battery and an inverter, and the final mounting and connections are shown here:

Sundial Custom Keyboard

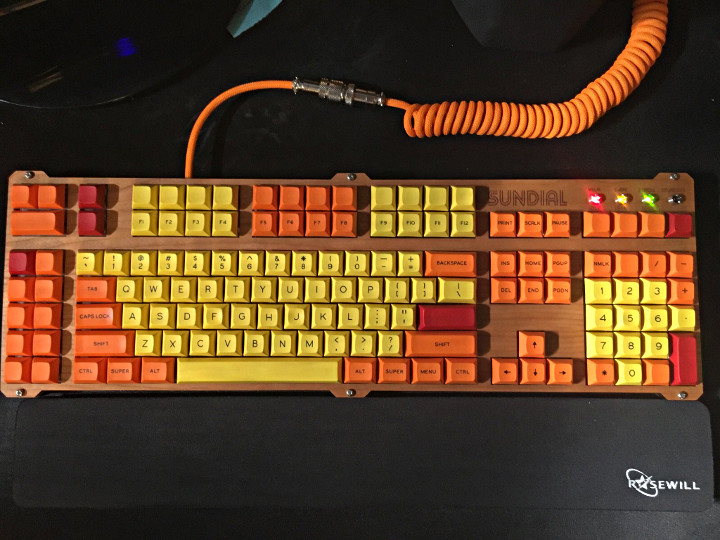
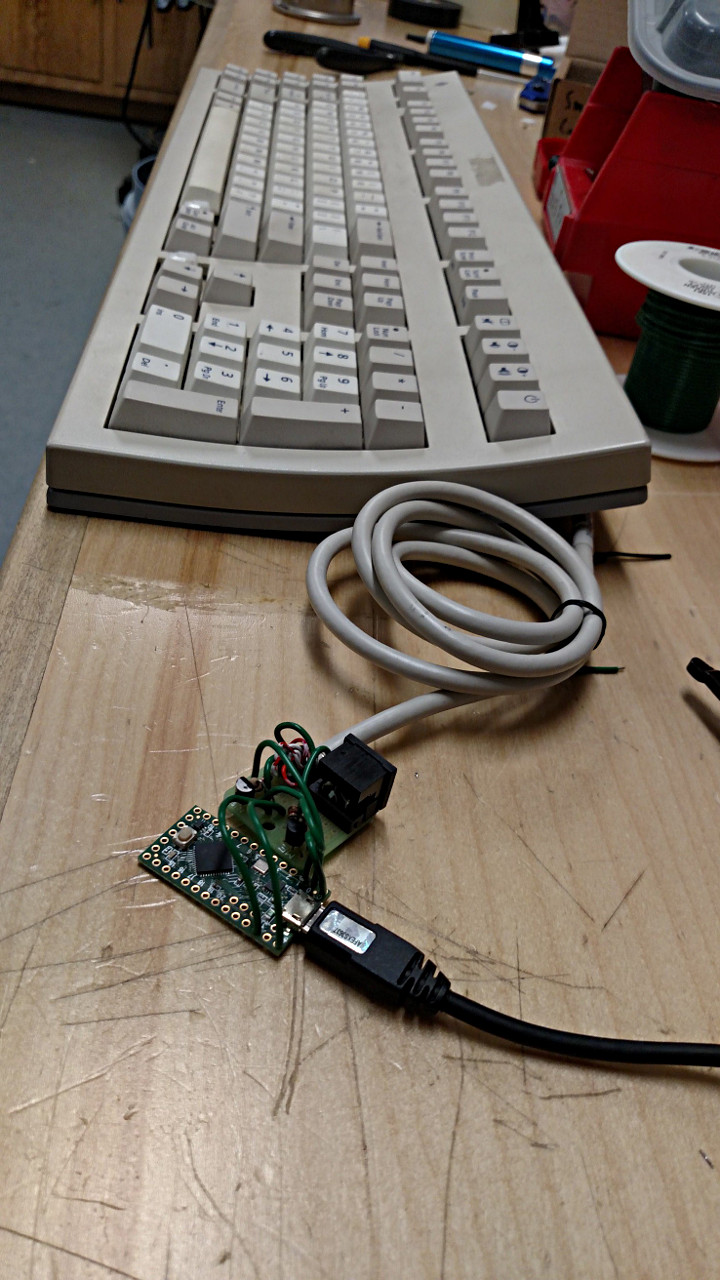
Jesse Robinson created his own custom keyboard inspired by the Sun Type 6 keyboard.

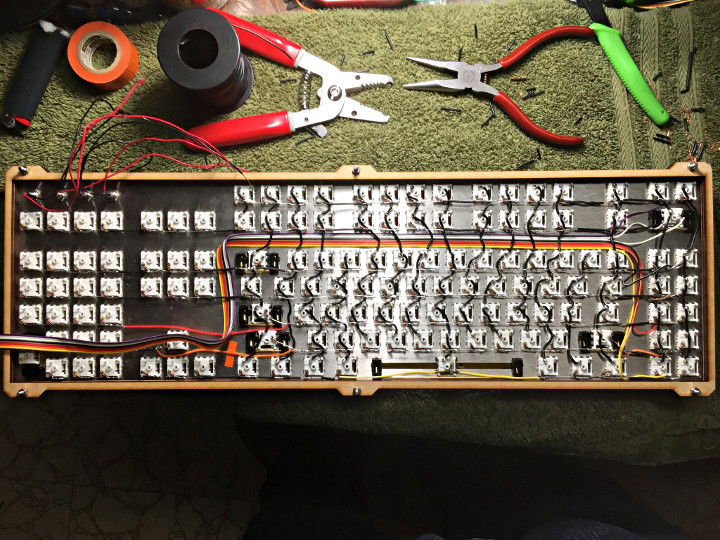
Jesse wanted a keyboard that had the vast functions of the Sun and IBM keyboards and also had a number pad reversed to lay out like a telephone number pad.  The build process included fabricating a custom frame and hand wiring all 136 mechanical switches for the keys.

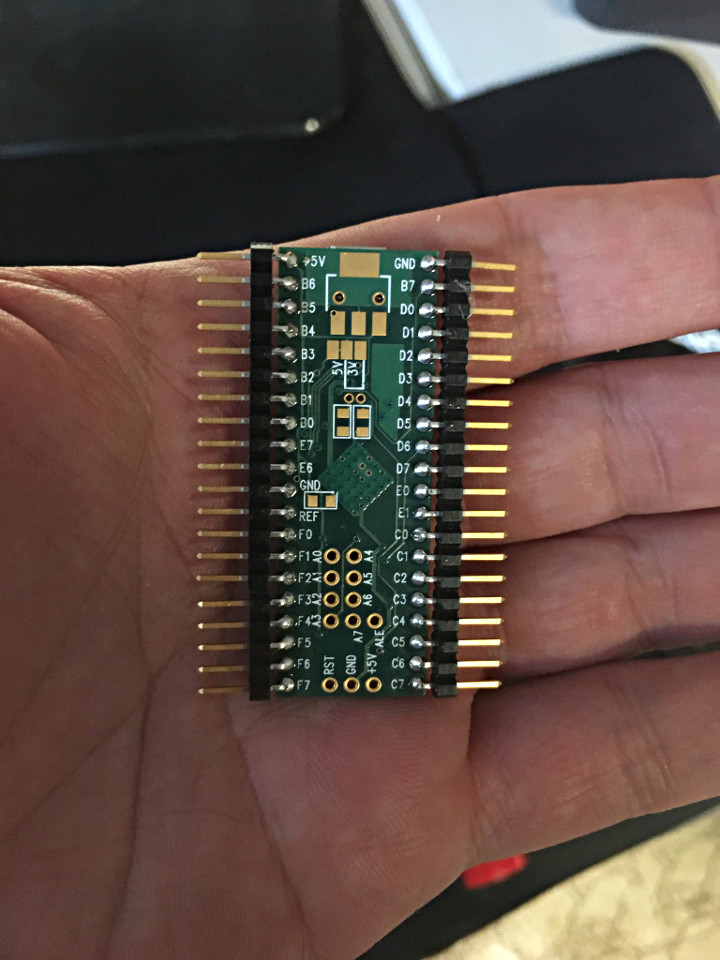
Getting the Teensy ++ to fit inside the slim case required using right angle header pins.

Additional photos of the build process can be found here.

Code as well case build files and wiring diagrams can be found on the Hackaday.io project page.

DIY Audio Sampler

HomeMadeGarbage put together a DIY audio sampler.

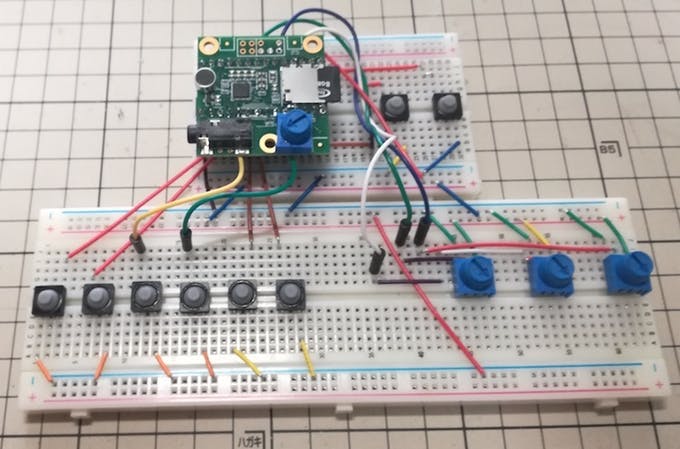
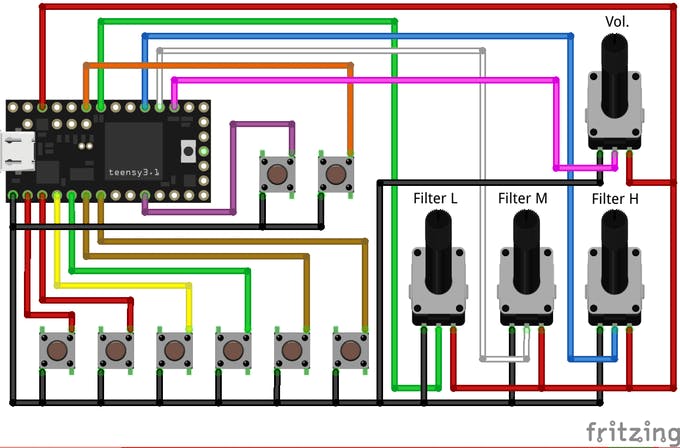
This sampler project was put together using the Teensy audio library and the audio library design tool.   For this project six short sounds are played from memory.

You can see a short clip of the sampler in action here

#teensy audio board でサンプラー自作 #slipknot

A post shared by Home Made Garbage (@homemadegarbage) on

Code for the project can be found on this Hackster.io page.


Soft MIDI Pedals

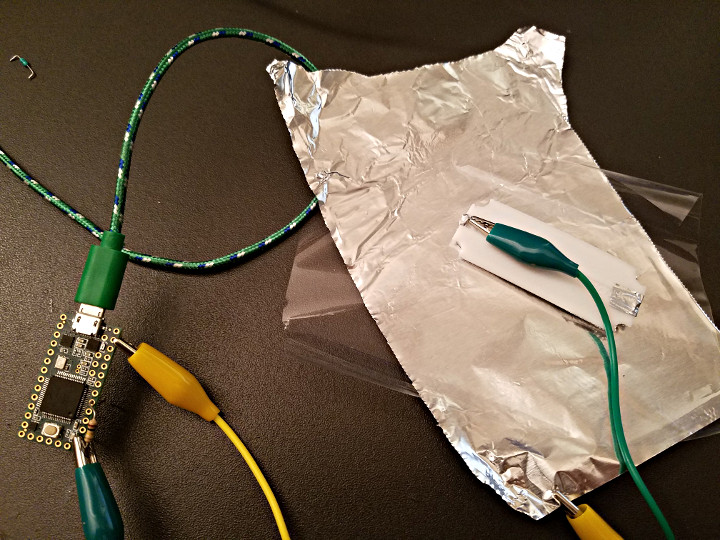
Daren Schwenke is making his own MIDI pedals by fabricating his own custom pressure sensors measured by varying capacitance!

Daren’s old MIDI pedals were wearing out, so he decided to make new ones to replace them.  He made is own foot sensor by making a capacitor out of 2 pieces of foil with mylar between them.

Current code for the project is available on GitHub.

LED Top Hat

Chris Faye made an awesome LED top hat.

The hat uses an 8×32 LED matrix in 4 sections that run in parallel using the FastLED library.  While battery life does depend on the brightness of the LEDS, Chris did wear the hat and had it running for about 5 – 6 hours at the Edwardian Ball without needing to change the batteries.

There is some good discussion on this forum thread about trouble shooting some issues where the LEDs were dramatically slowing down after about a minute.

Code for the project has been published on GitHub.

Euroshield by 1010Music

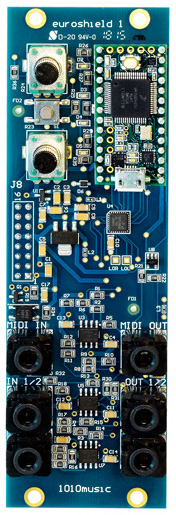
The folks at 1010Music have released the Euroshield, a Eurorack and audio interface for Teensy.

Euroshield allows users to customize their own synthesizer module.  It uses the standard Eurorack power systems as well as standard patch cords for input and output of standard Eurorack level audio, CV and MIDI signals.

A few of the features include:

  • Two audio inputs and outputs using the Eurorack -5V to +5V standard
  • DC coupling allows audio ins and outs to be used as control voltage connections
  • MIDI input and output via 3.5mm TRS minijacks
  • Board design allows mounting in Eurorack while exposing the Teensy
  • Built-in controls enable users to create a fully functioning product:
    • Two knobs
    • One push button
    • 4LEDs
  • 10 demo Sketches include sample code for filtering, reverb, and VCO.

SparkFun AVC Rover

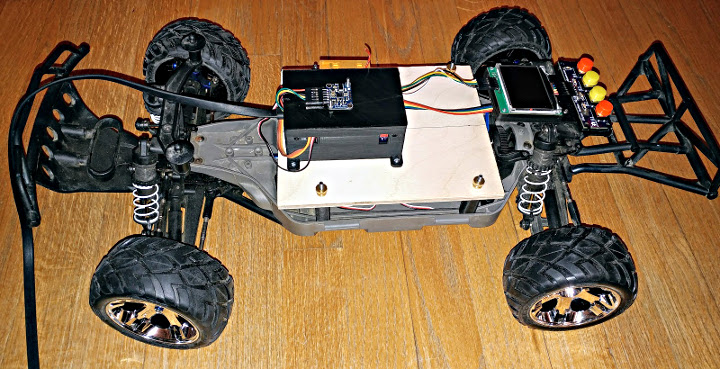
Jesse Brockmann built an autonomous rover for the SparkFun AVC where’s he’s competed for the last 4 years, winning in 2016 and 2017.

Jesse started working on his first rover in 2011 and finished it in 2014 to compete in the SparkFun Autonomous Vehicle Competition.  He offers some great advise for people helping to build their own.  He says the most important parts are the brains, his uses a Teensy 3.5, the Inertial Measurement Unit (IMU), and the RPM sensor.  Another important consideration is the base platform.  Jesse uses a 4×4 platform with a low center of gravity.

You can get more information on builing your own rover an the DIYRovers Google Group Forum.