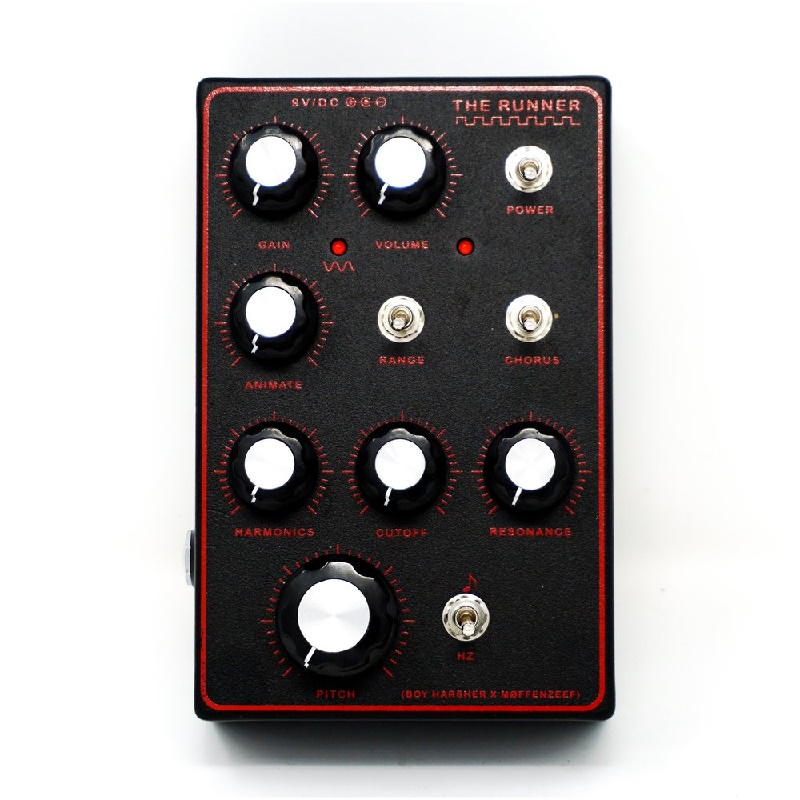
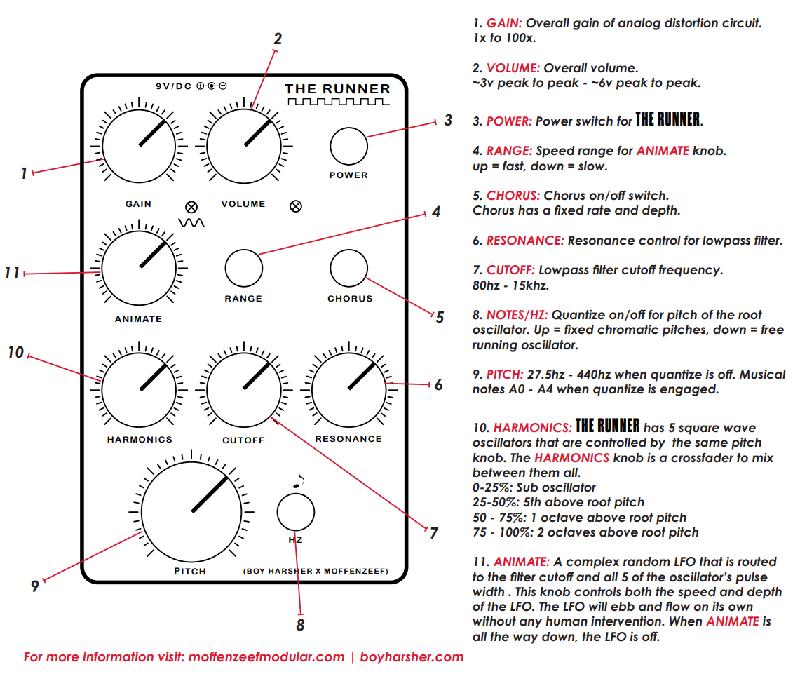
Darkwave artists Boy Harsher have developed a cult-like following over the past decade. To create a drone synth to tie in with their directorial debut film, The Runner, they reached out to Moffenzeef Modular’s Ross Fish, creator of the Teensy-powered STARGAZER.
While we don’t have a ton of insight into what’s inside the box, we do know it’s powered by a Teensy 3.2, and can assume that it uses the Teensy Audio Library like Ross’ other creations. Give it a listen in this six-minute demonstration video, or scour Reverb or Mod Wiggler for a used one, since the limited edition run of 250 units is already sold out!
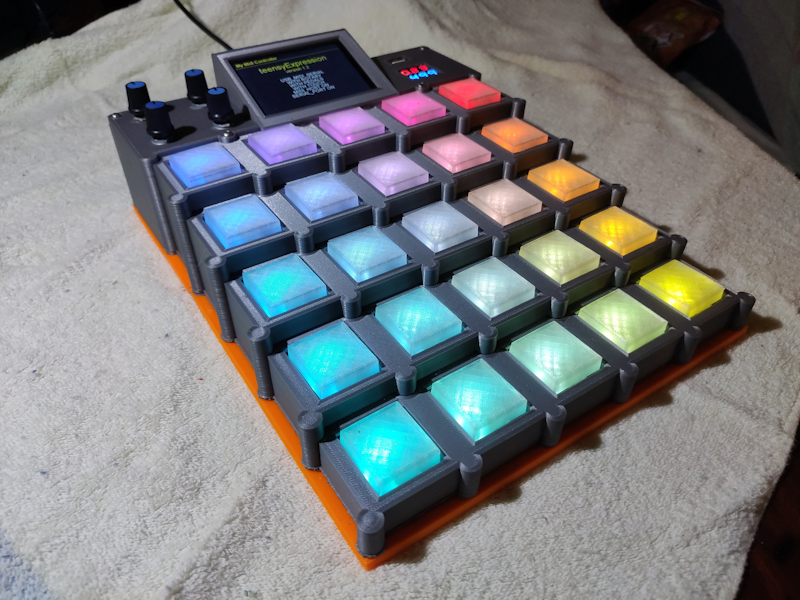
Phorton1 teensyExpression caught our attention for two reasons: one, it’s gigantic, and two: (how to put this…?) it’s designed for operation by…toe. To reiterate, the large, tiered 5×5 grid is optimized for use while playing guitar seated and barefoot!
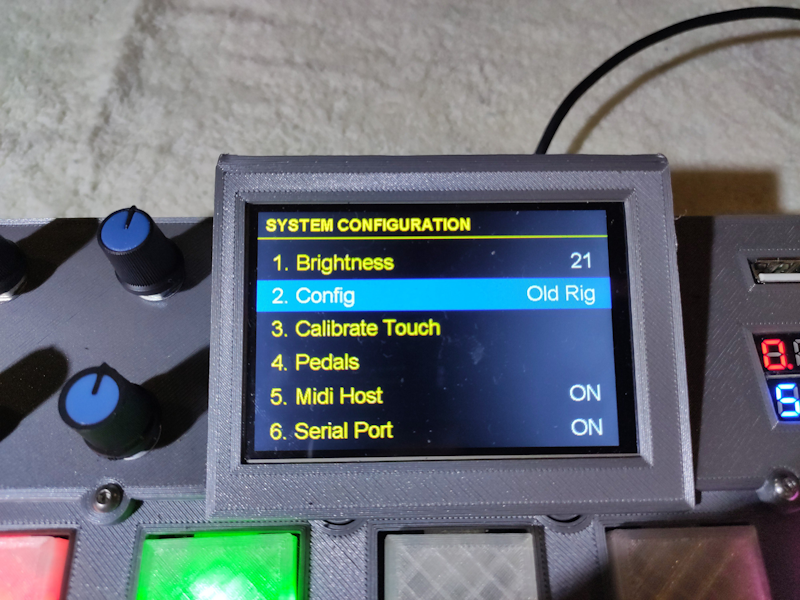
The Teensy 3.6-based system consists of a large, 3d-printed chassis, with transparent button covers, each housing addressable WS2812B RGB LEDs, plus a 3.5″ touchscreen and four rotary encoders. Around back are inputs for four traditional pedals, a 1/8″ stereo jack used for serial, a USB port for power, and a USB host port. Firmware, CAD files, and much more can be found in the project’s GitHub repo.
Two legs good, four legs…rad? That’s our ad-hoc slogan for this amazing little Teensy 4.0-powered quadruped from Martin Triendl on YouTube!
We don’t have a ton of info on this pint-sized power pup, but we know that it’s 3d-printed, has a USB-chargeable LiPo battery, is driven by hobby servos, and contains the aforementioned Teensy 4.0 plus a gyro to keep things steady.
An Android app provides the controls, and an updated version shown in the video below adds full suspension, allowing it to recover from drops and shocks, and uhhh carry a beer bottle apparently!
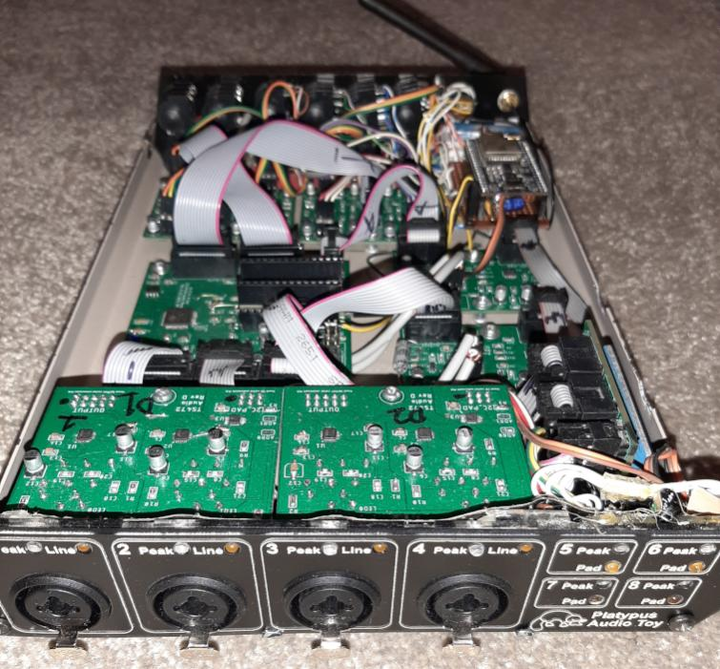
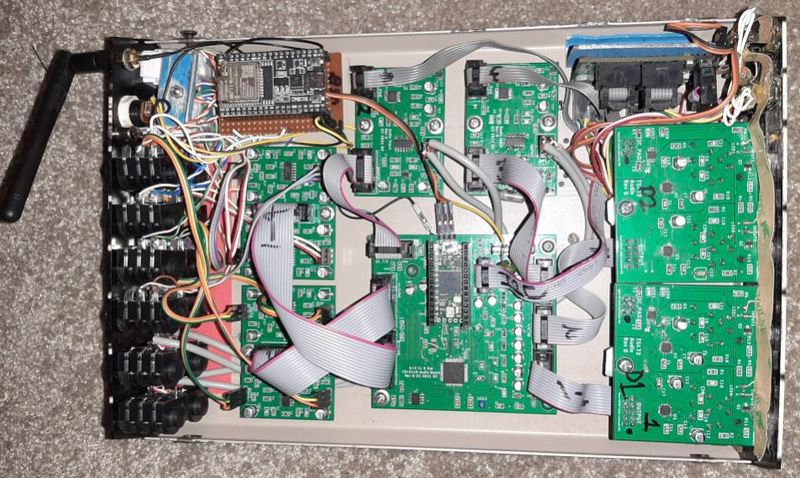
This pro-grade piece of kit features fully balanced, software gain-controlled line/instrument inputs and 600 ohm/+8dBm outputs, with combo XLR/TRS sockets whose insertion status can be remotely read over I2C. An ESP32 allows remote control via Wi-Fi, while WS2812B LED strips indicate channel levels.
Complete hardware details for its component modules, as well as a user manual, can be found on GitHub.
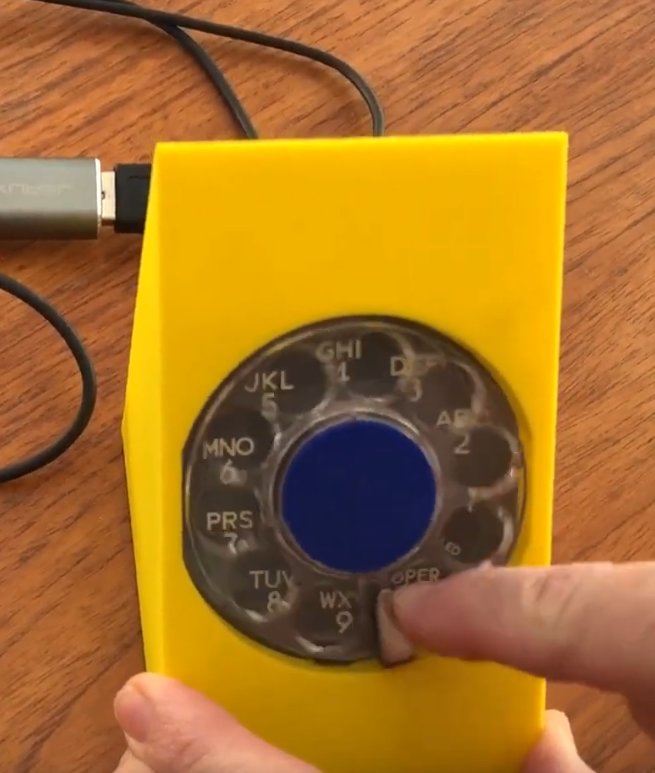
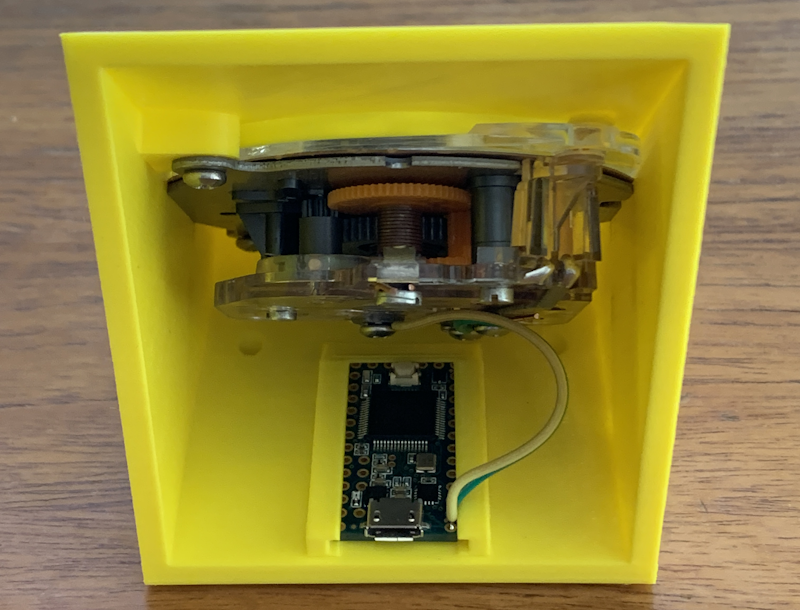
Jp3141 decided traditional numeric keypad was far too efficient and the rotary dialer from an old AT&T Trimline phone would make any Excel spreadsheet or other data entry task far more enjoyable.
Teensy’s HID functionality makes it a great candidate for your latest rad keyboard project, but as we’ve covered elsewhere, this double-edged sword also means it’s perfect for all manner of bizarre prank input devices as well.
A Teensy 3.x or LC is used to read the pulses from the dialer, then convert the positive pulses to the corresponding number and send the keystroke via USB as if it were a normal keyboard. STL files for the enclosure and source code can be found in the project’s GitHub repo, and you can watch (thankfully only) the first six digits of pi being entered in the video below!
We love LED projects, and we especially love big LED projects.
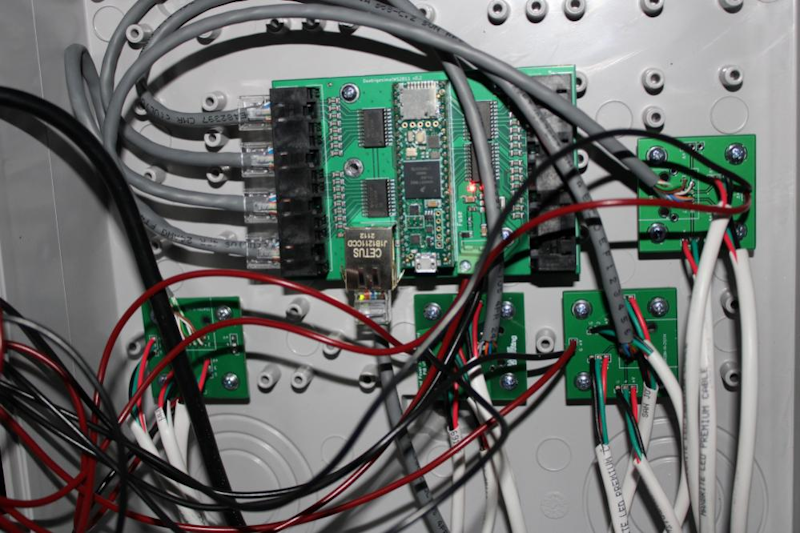
But big LED projects require big power, and involve big distances, which is where PJRC forum member bamos’ OctoWS2811 Power Injection Board comes in handy.
This simple board connects to OctoWS2811 Adaptors or bamos’ Teensy Pixel Pusher via Ethernet cable, enabling the connection of up to four LED strands at remote locations, with the added bonus of power injection at the site.
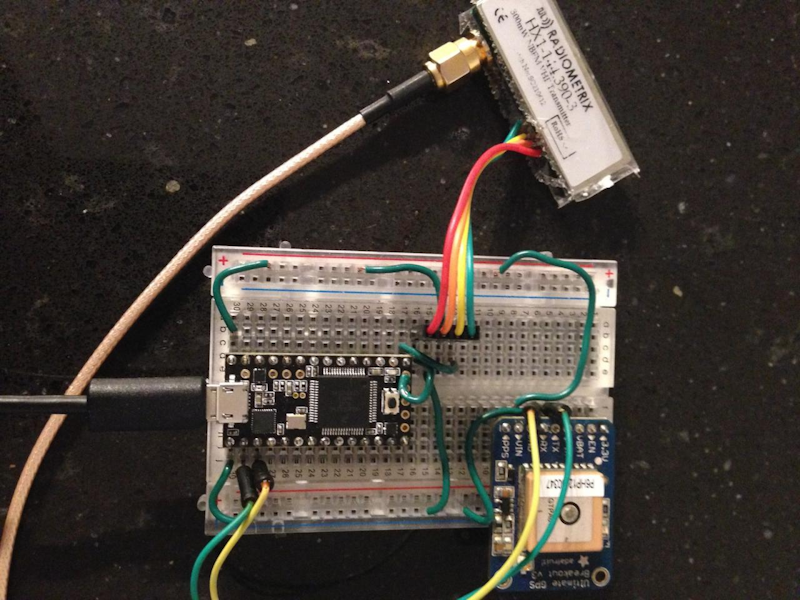
APRS is a radio-based system for relaying various data of interest to users in the broadcasting region.
As is often the case on the PJRC forums, various other members were inspired by the project, including Malaysian ham enthusiast Stanley, who used it to upgrade their own open-source APRS Tracker, SVTrackR. rvnash’s code, as well as Stanley’s project, are available on GitHub.
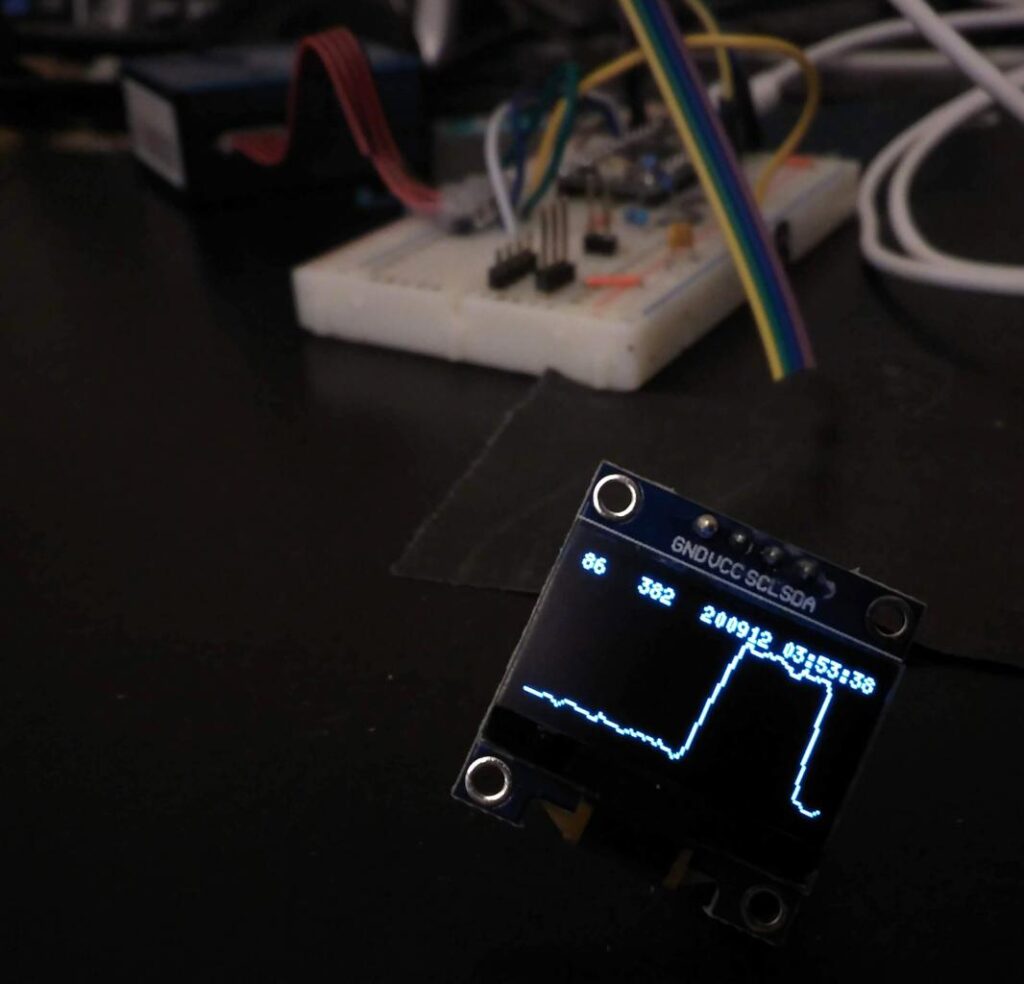
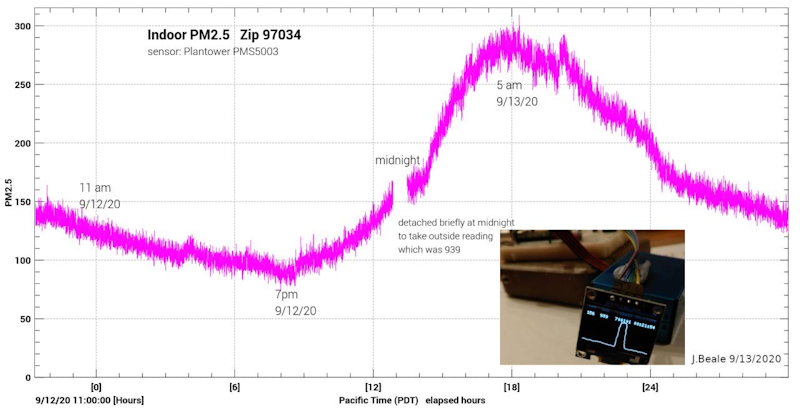
Tracking indoor CO2 PPM levels emerged early in the pandemic as a way to measure one’s local environment for stale air and the increased likelihood of disease transmission. But measurements such as CO2 levels and the Air Quality Index (AQI) have also entered the public consciousness due to frequent large wildfires in recent years, and the propensity for their effects to spread well beyond their origins.
The system consists of a Teensy 3.1 connected to a Plantower PMS5003 laser particle sensor, with a small OLED display presenting time series data from the sensor. Initial test measurements showed particle pollution levels of 3-5 PM2.5, but the wildfires brought readings to 90 indoors and 380 outdoors. The resulting thread also brought out AQM projects from other forum members, as well as JBeale’s own Teensy 4.1-based evolution that uses the built-in mSD for data logging. The original sketch is available on GitHub as part of JBeale’s DataAcq collection of data acquisition tools.
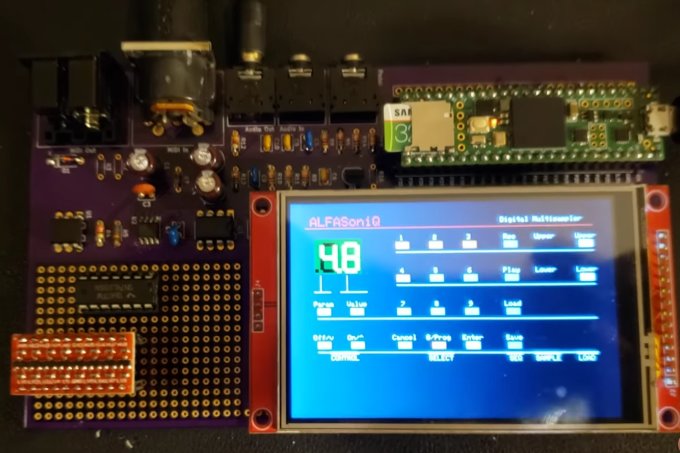
Alessandro Fasan and his team of Ensoniq enthusiasts are bringing this classic synth back to life via Teensy!
The MOS Technology 6581 SID. The Yamaha OPN and OPL chips. General Instruments’ AY-3-8910. These legendary sound chips are perhaps not quite household names, but have obtained a cult following with legions of fans each declaring their allegiance to one as the superior sound generator. When the SID’s designer, Bob Yannes left MOS, he co-founded Ensoniq, and designed the 5503 Digital Oscillator Chip (DOC) at the heart of the groundbreaking Ensoniq Mirage sampler synth.
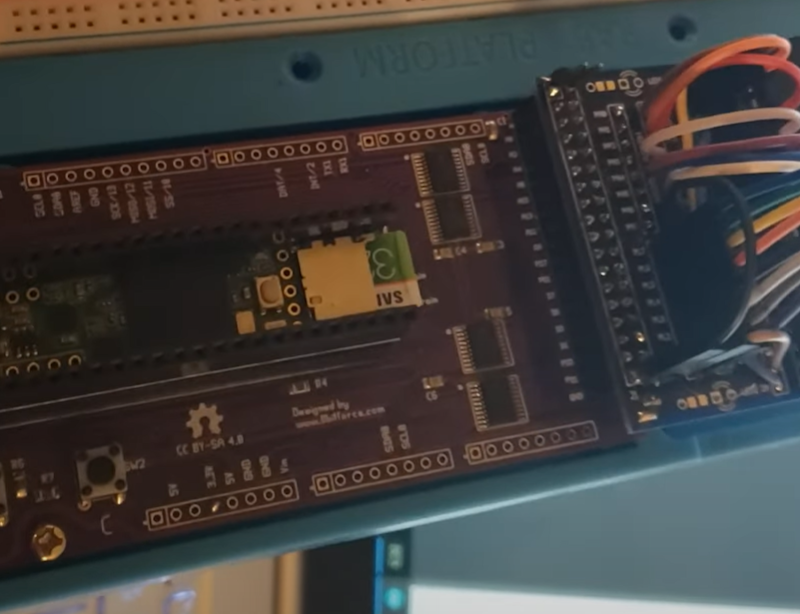
The ALFASoniQ Mirage II began development a Teensy 3.5 coupled with Erturk Kocalar’s Retroshield 6809 housing the DOC (Digital Oscillator Chip). The system is capable of booting the alternative Mirage operating system MASOS 3.2 from SD, and while not all of the voices and modes are functional, full polyphony is supported. Source code can be found on GitHub, while the video below gives a demonstration of the project’s state.
More recently, the ALFASoniQ has moved to development on Teensy 4.1 with software emulation of the 6809 chip. This quick video demos show the project’s progression to utilizing the more powerful hardware to implement more Ensoniq capability.
Step sequencers have been around since at least the 1960s, and from the 1980s and beyond became a very common sight as the number and variety of digital instruments exploded.
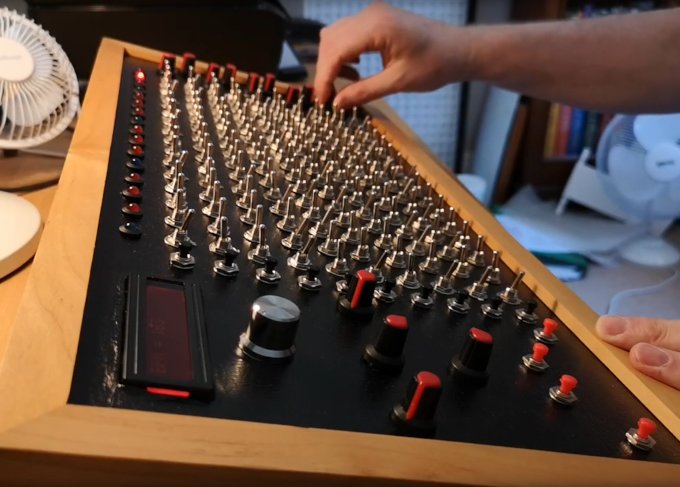
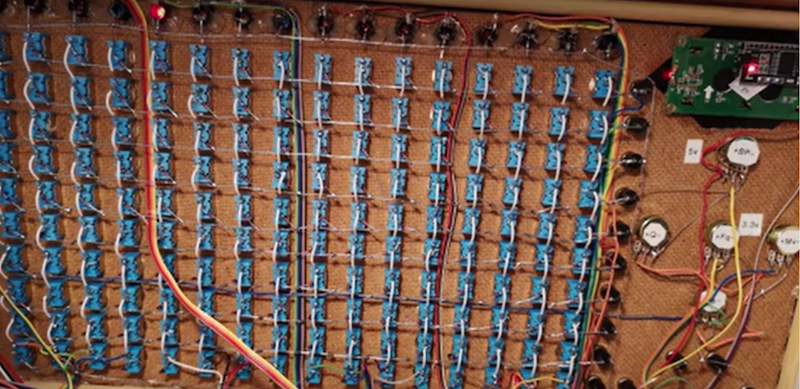
This DIY Drum Machine from Robert Robert on YouTube is a unique blend of the two, with a huge number of switches and knobs up front, but a Teensy 3.6 and Audio Adaptor Board generating the beats behind the scenes.
Most step sequencers have 16 buttons with LEDs to indicate on/off status, which are reused in order to create multiple tracks and thus produce layered sounds. This device has a dedicated row of 16 switches for each of its ten tracks/samples, with 16 LEDs above them to indicate which note in the sequence is currently playing. Momentary switches on each row allow the same samples to be triggered at any time, and 10 potentiometers allow the volume of each sample to be adjusted, also effectively allowing a track to be muted. Four additional buttons and knobs allow a further four samples to be triggered at corresponding volumes. A 16×2 I2C LCD display and further knob allows configuration of parameters such as BPM. See it in action and learn more about its construction in the video below!