Forum user EVL has built a 6-foot tall self balancing inverted pendulum bot as part of an effort to practice feedback control systems.
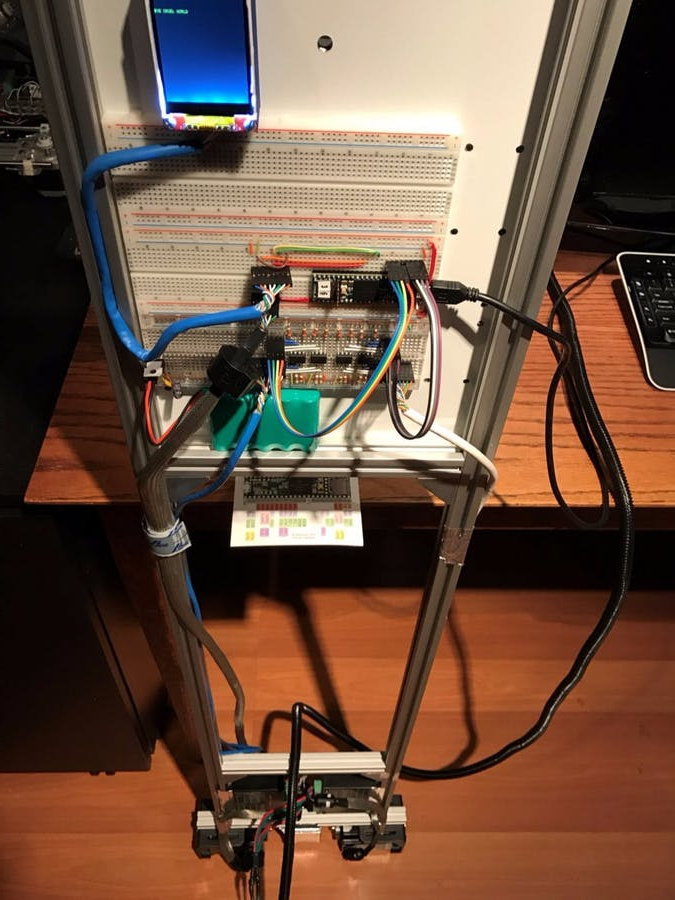
A PID control system achieves tilt stability. Tilt angle is calculated from sensor fusion of LSM6DS3 accel/gyro readings passed through an Extended Kalman Filter. Propulsion is done with 3A stepper motors with CUI AMT10 encoders for wheel position and velocity. Steppers were used for their high torque at low RPM and zero backlash, so near flawless stand-still response is achieved. The Kalman filter, LSM6DS3 anti-alias filters, and in-code butterworth filters mitigate the mechanical vibration effects of the steppers.
This test video demonstrates near perfect stand-still response.
The second test video demonstrates motion control while maintaining balance.
In addition to the the PJRC Forum, information on the project can also be found on Hackster.IO and this robotics forum.