Who doesn’t love the scale realism and joy of driving model trains? But like the real thing, complicated networks can present all manner of issues, resulting in miniature delays, damaged tiny cargo, and … well, not having fun! That’s why Chuck Davis created the Simple Signal System (S3).

More than just a model railroad control system, the project can actually be used for lighting or almost any kind of control project.
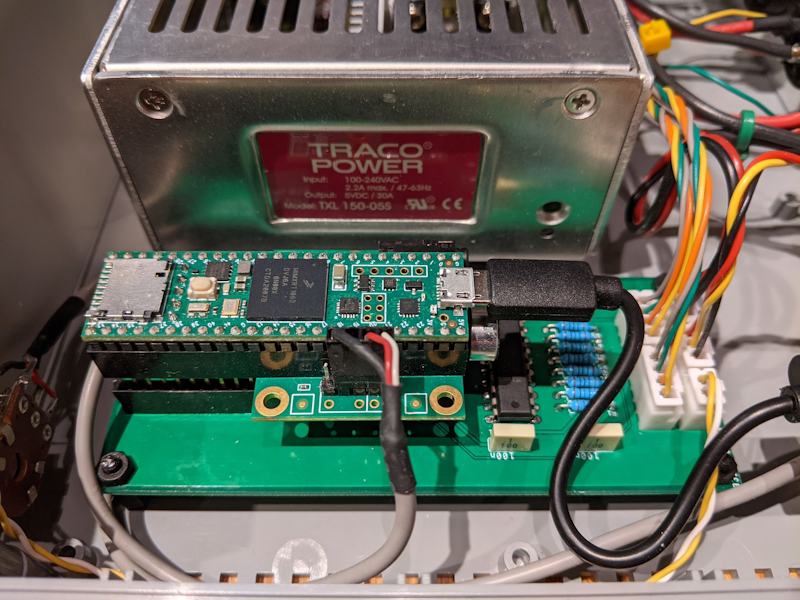
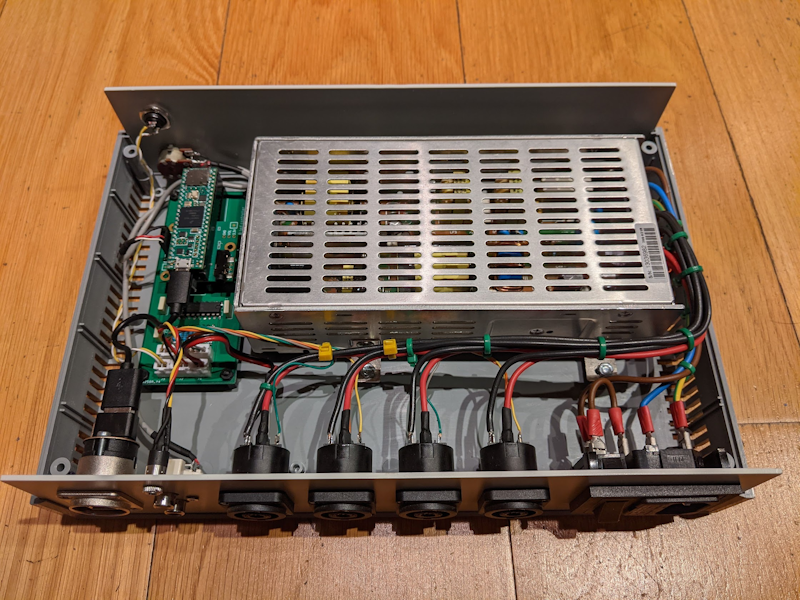
The S3 features eight inputs and 16 powered outputs, with two network connections that enable the addition of up to 50 expansion boards. RS485 multipoint and simple modular cables connect the expansions using a simple communications protocol. Custom PC software allows point-and-click configuration with no programming or special knowledge required, resulting in the generation of custom firmware to be deployed to the Teensy 4.0 that provides the main board’s brains. A larger Teensy 4.1-based version, with 16 inputs and 32 outputs, is also available. Find out more at railroadcontrolsystems.com.