Stefan Hamminga has made Scrobby, a robot designed for cleaning solar panels autonomously.
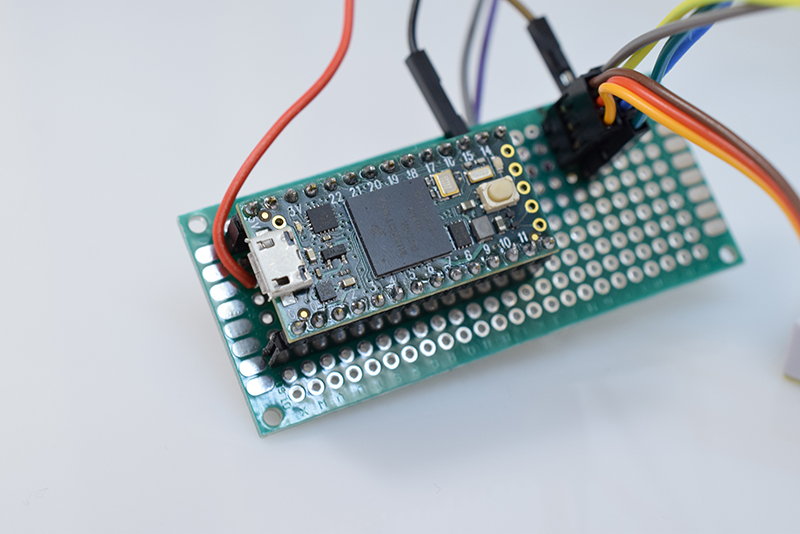
Scrobby was built by Stefan Hamminga using a Teensy 3, a Bluetooth LE module, six ultrasonic sensors and two internal motor driven spools. It is powered by its own solar panel. When Scrobby’s sensors detect rain, it moves across the solar panel surface, scrubbing it clean. When rain stops falling, Scrobby goes back to a special resting platform, meaning that the body of the robot doesn’t block any valuable sunlight. You can find build logs and explanations of Hamminga’s mechanical design decisions over on Scrobby’s Hackaday.io project page.
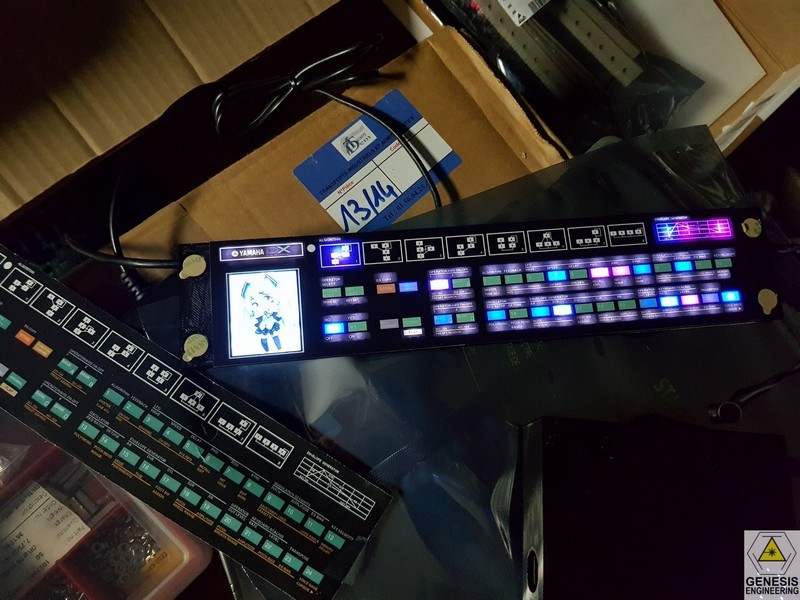
Holger (C0d3man on the forum) posted details of some excellent synth projects that gets a powerful Dexed FM synth plugin running on Teensy.
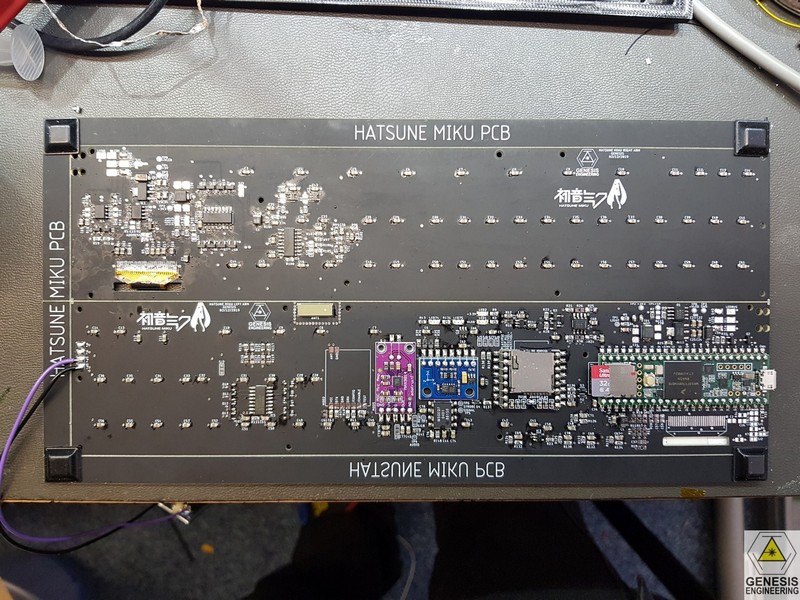
Holger combined a custom PCB with a Teensy and the PJRC Audio board to make a neat synth module that supports MIDI, both DIN and USB. Holger also ported multi platform, multi format plugin synth Dexed to this module.
Holger has published details of three separate audio projects that use this system, the Teensy MIDI Audio, MicroDexed and Micro MDAE Piano, all of which are Open Source Software and Hardware. You can listen to a recording of some of the sounds from MicroDexed and Micro MDAE Piano on Holger’s website. You can also read more details about these projects on the PJRC forum and the Zynthian forum.
Christoph has published a number of cool projects over at Hackaday.io. His latest hack, for the Hackaday Tell Time, is turning an IKEA LACK table into a ceiling-mounted robotic LED clock.
Christoph used an IKEA LACK table, twelve small hanging lamps, twelve servos, a Teensy microcontroller and an ESP 32 to make this project. Each lamp can be moved up and down by its own individual servo, stopping at one of five positions: 0% (fully down), 25%, 50%, 75% and 100% (fully up). The position of the lamps tell the time, for example at 01:15 lamp one would be at 75%, lamp two 25% and the rest at 0%. You can find build logs and code for this project over on the Hackaday.io website.
The other winners of the Hackaday Tell Time contest are also really worth checking out. The PJRC blog has previously featured the overall winner, this beautiful and technically impressive ferrofluid clock by a talented team of students from University of Oslo.
Shapiro Audio have released the Skillet, a pro-audio MIDI controller built with two Teensy++ 2.0 boards. The Skillet is designed to be used with Avid Pro Tools.
The Skillet was designed to to control plugins in your DAW in a less fiddly, more interesting way. The device’s joysticks can control up to six parameters, and you can map them to any automatable plugin in Pro Tools. It also has dual touch-sensitive 100mm motorized faders and a nice-looking touchscreen menu system.
The Skillet uses two Teensy++ 2.0s: one to provide USB-MIDI output and convert all the control inputs into MIDI-based protocols, and the other to drive the touchscreen. If this sounds like something that would improve your audio production set up, you can get one on the Schapiro Audio website.
Otmar runs Cafe Electric, a small company that builds electric vehicles.
As part of a recent classic car conversion they used a Teensy 3.6 and 0.96 inch color display to control a modified warning light.
Cafe Electric is a small company in Oregon that builds electric vehicles. Recently they shared details of a classic car conversion that they are working on in which they have used a Teensy 3.6, a custom PCB and an Adafruit OLED screen to replace a warning light.
The schematic, bill of materials and KiCad files have been published on the Cafe Electric website and you can download the board files or order yourself a PCB on the OSHPark website. You can also follow Otmar from Cafe Electric on Twitter for more updates on this and other electric vehicle projects.
Christof made a very cute cuckoo clock that tells the time with a ring of NeoPixel LEDs and marks the hour with a moving, singing wooden bird.
Christoph is from a region close to the Black Forest in Southern Germany, a region that is very well known for its beautiful, quirky cuckoo clocks. Traditionally these intricate clocks are mechanical, but Christoph’s version uses electronics and code.
This cuckoo clock uses a NeoPixel ring to display the time. On the hour, a servo opens the shutter, letting the bird peek out. The bird then sings, using a small speaker and the ever reliable LM386 chip to handle sounds stored on a SD card. The whole project is controlled by a Teensy 3.5.
For more information on the project, including more pictures and details of the libraries used, check out the original post by Christoph on the PJRC forum.
There are many DIY lightsaber projects out there but Scott from The Firebrand Forge takes his version to the next level. The exterior is beautifully made with a detailed chrome handle and a vibrant, brightly lit blade that can be easily detached. Inside the handle is a Teensy 3.2 and a custom, open source FX board that controls the blade’s visual effects.
You can commission your own electronic lightsaber through The Firebrand Forge website, or if you want to have a go at making your own version, Scott has written up the project in detail, including wiring diagrams, a parts list and code.
You can read an article about this lightsaber at an earlier stage on our blog, or take a look at some more of the project details over at Hackaday.
Morton Kopf has created a beautiful sequencer that makes drum beats based on Euclidean rhythms.
Euclidean rhythms are an algorithmic way of making beats. Computer scientist Godried Toussaint discovered this technique in 2004, but the algorithm it is based on comes from Euclid, a mathematician in Ancient Greece. Euclid’s algorithm gave us a way of finding the divisor between two integers. Applied musically, that means that a musician could choose the number of steps in a sequence and the number of beats within that sequence, and the algorithm will decide where those beats fall. Layering Euclidean rhythms gives musicians an interesting way of creating intricate polyrhythms, leading to this technique becoming one of the more popular ways of making music with algorithms.
Morton Kopf has made a drum machine that uses these Euclidean rhythms in a four track, 16 step sequencer. It runs on a Teensy 3.5, also using four 16 LED Neopixel rings, four RGB rotary encoders and an LCD screen. Aside from the cool maths behind sequencing, one of best things about this project is the quirky, attractive casing Morton Kopf has made from some frosted perspex and an old port wine case.
If you want to have a go at making your own algorithmic rhythm machine, Morton Kopf has released build instructions on their website, plus you can find all the code for this project on their GitHub. You even also order a DIY kit for your modular synth rack if you don’t want to make the PCB or order the components yourself.
Fabio Balzano has made an IOT satellite uplink system to send and receive data from and to his remotely operated underwater vehicle.
Scuba diver, sailor and robotics enthusiast Fabio Balzano needed to find a way to connect his remotely operated underwater vehicle (ROV) with the web to get its telemetry data, but as the planned deployment site was extremely remote, he was unable to rely on radio or even GSM as a way of sending the data. So, he designed and made a system using a Teensy and a Raspberry Pi that is able to send and receive data from and to the ROV via satellite link .
Balzano has written a number of build logs that follow the progress of this project over on Hackaday.io, where you can also find descriptions of some of the tools he used and a schematic for the hardware in his prototype.
Experimental Experience has made an impressive music visualisation project that synchronises a strip of LEDs with music based on MIDI. The software synthesizer used in this project plays audio at the same time as sending USB MIDI data via USB to a Teensy 3.2. The Teensy then uses note on/off and pitch information to control the LEDs, with different colors assigned to each of the 12 notes.
One of the extra special things about this project is how well documented it is. In a detailed, clearly-written article on their website, Experimental Experience provides a detailed tools and materials list, a guide to soldering and assembly, a guide to the software you’ll need to use plus all the code needed to run the project. You can also see more examples of this project working on the Experimental Experience YouTube channel, or see below for their energetic visualisation of Flight of the Bumblebee.