We’ve seen some impressive modular synth builds using Teensy boards, but PJRC forum member ghostintranslation took things even further with development of their MOTHERBOARD (MOdular Teensy Hybrid Eurorack Board) modular synth platform! MOTHERBOARD eschews the Eurorack electrical specification, instead relying on MIDI via serial for communication between modules.

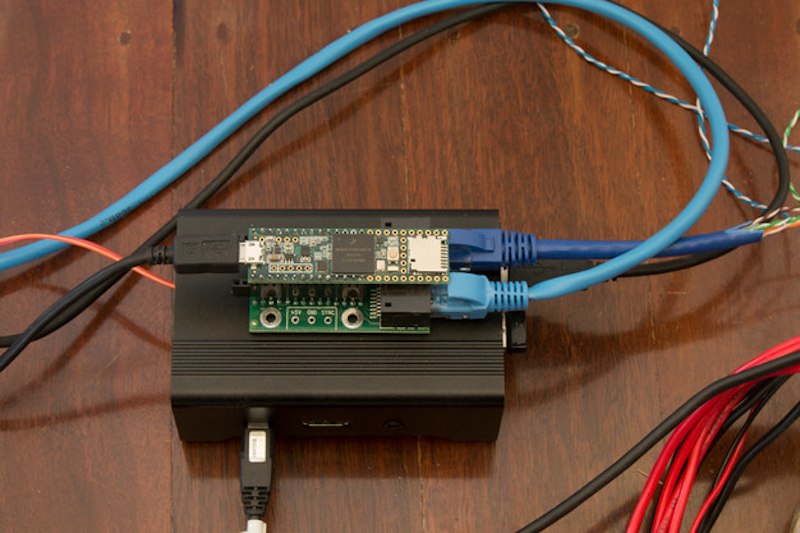
Three physical MOTHERBOARD variants, each based on the Teensy 4.0 + Audio Adaptor Board, offer six, nine, or twelve inputs respectively, where inputs might be any combination of pushbuttons, potentiometers, or encoders. Example modules include the SYNTH FM polyphonic synthesizer,
DRONE 4-voice drone, DS909 TR-909-inspired drum synthesizer, PSYC03 Syncussion/TB-303 “acid percussive synth”, CYCLE monophonic sequencer, and BYTE drum sequencer. An API, exposed via the included `Motherboard.h`, allows reading of inputs, setting of LEDs, and handing of MIDI and input callbacks. Firmware and schematics are available on GitHub, with PCBs available on the artist’s Bandcamp page.


