Cirque have released a circular trackpad development kit for game designers who want to experiment with capacitive touch interfaces in VR and AR.
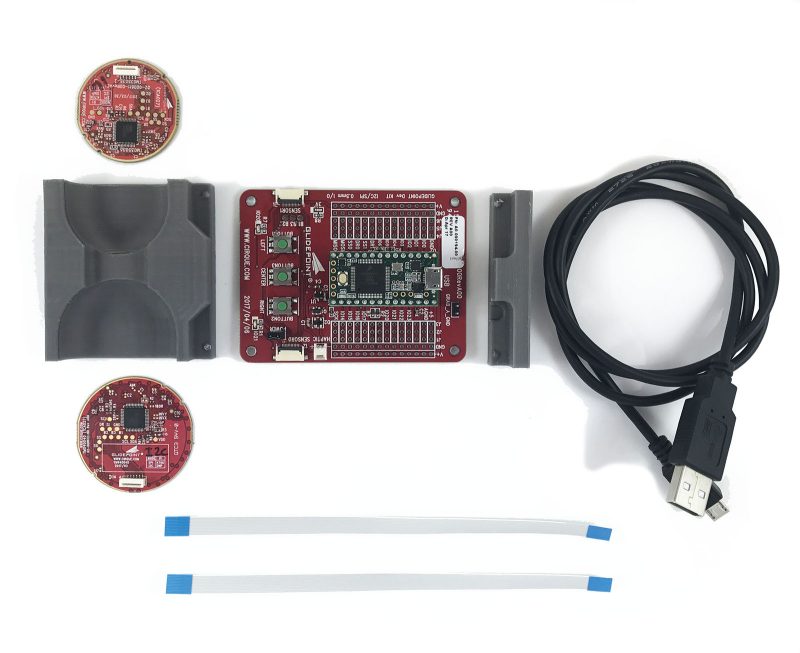
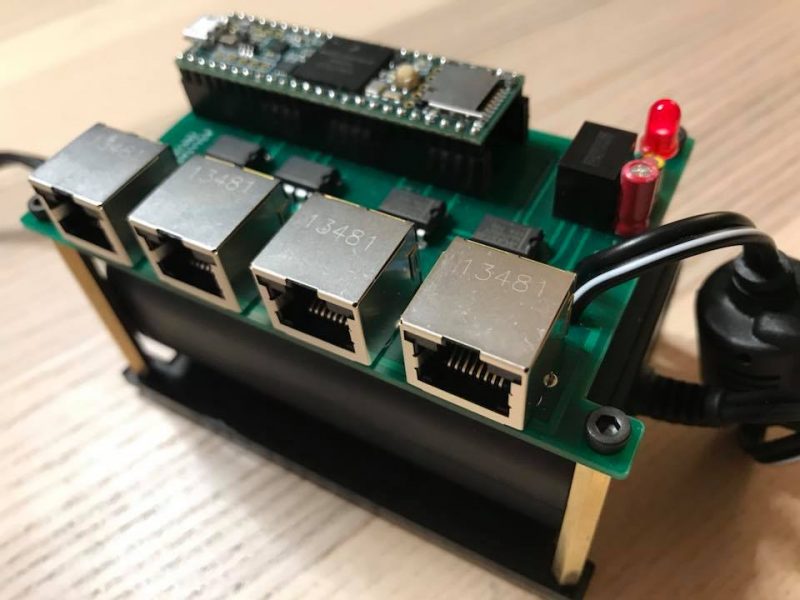
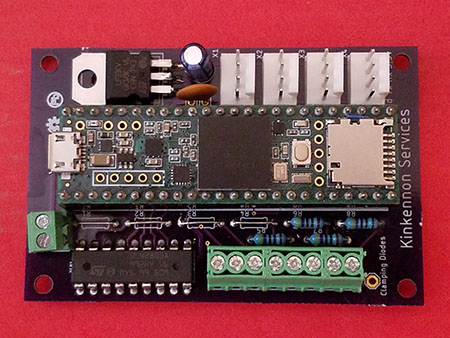
Cirque make capacitive touch interfaces for VR and AR gaming systems. They make a number of hardware development kits that allow game developers to work with interactive technologies. Their Circle Trackpad game developer kit includes a Teensy 3.2, a pair of circular trackpads and an adaptable “breadboard style” PCB.
You can find example code for the Circle Trackpad game developer kit on Cirque’s GitHub, and they have also released the schematic for the board. As well as the circular form factor, Cirque make a more traditional rectangular trackpad game developer kit that also comes with a Teensy 3.2.