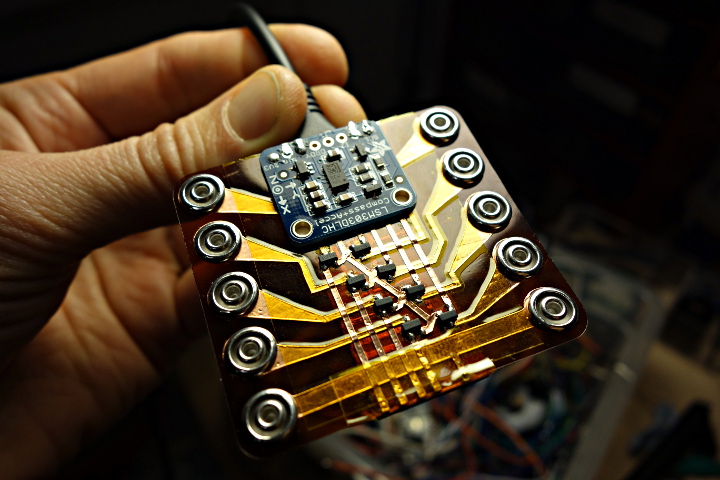
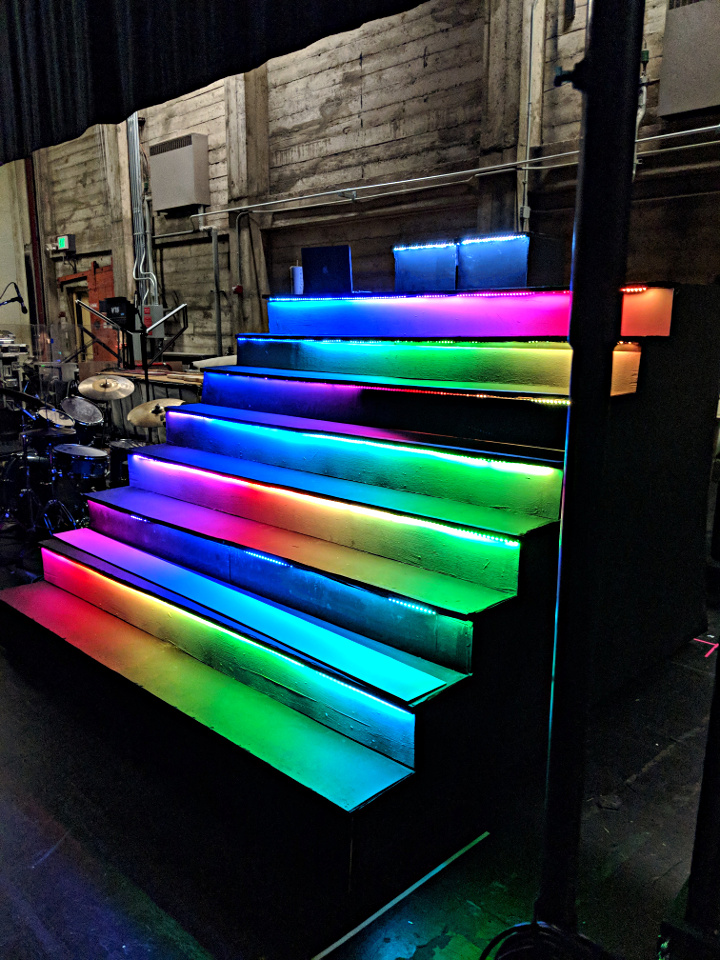
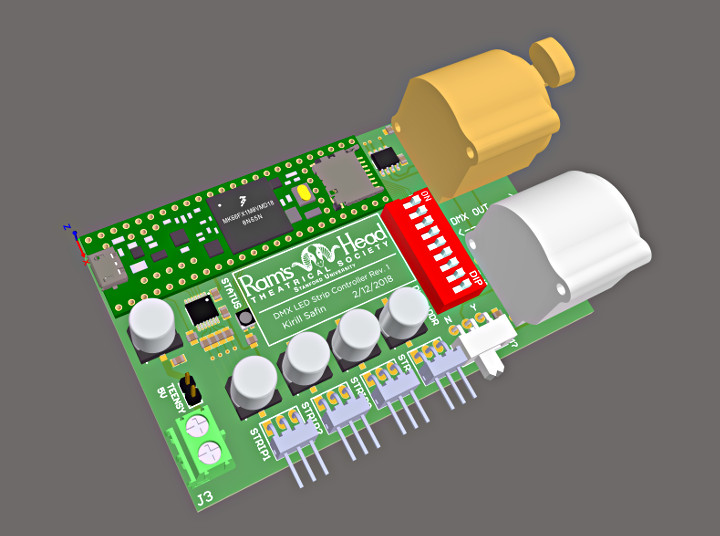
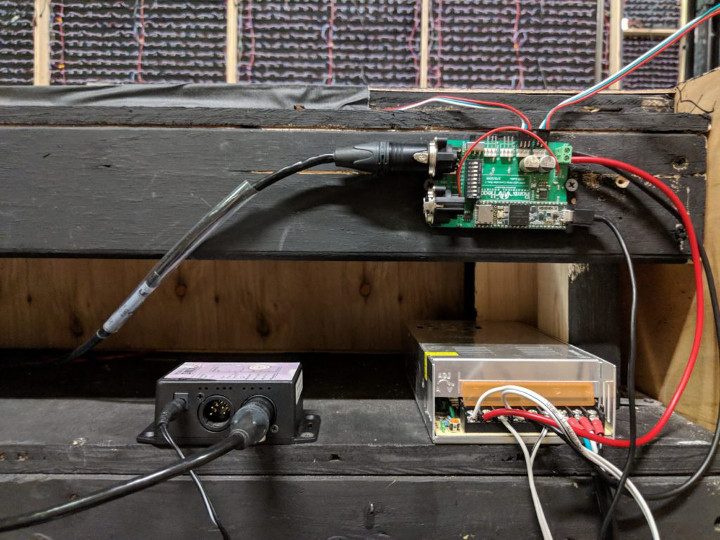
The hat uses an 8×32 LED matrix in 4 sections that run in parallel using the FastLED library. While battery life does depend on the brightness of the LEDS, Chris did wear the hat and had it running for about 5 – 6 hours at the Edwardian Ball without needing to change the batteries.
There is some good discussion on this forum thread about trouble shooting some issues where the LEDs were dramatically slowing down after about a minute.
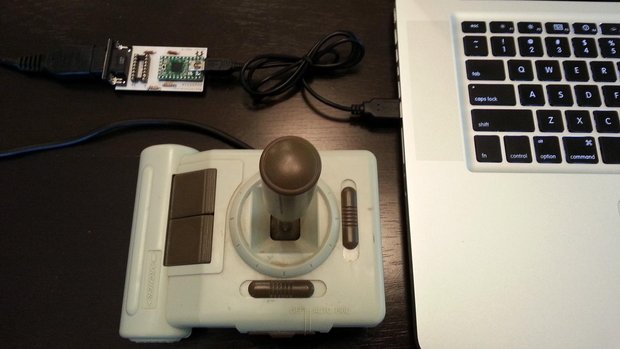
Teensy-LC acts as a bridge between the Sun Type S serial protocol and USB. The Teensy-LC converts the proprietary serial protocol into common keycodes readable by generic USB keyboard drivers on all modern operating systems.
The folks at 1010Music have released the Euroshield, a Eurorack and audio interface for Teensy.
Euroshield allows users to customize their own synthesizer module. It uses the standard Eurorack power systems as well as standard patch cords for input and output of standard Eurorack level audio, CV and MIDI signals.
A few of the features include:
Two audio inputs and outputs using the Eurorack -5V to +5V standard
DC coupling allows audio ins and outs to be used as control voltage connections
MIDI input and output via 3.5mm TRS minijacks
Board design allows mounting in Eurorack while exposing the Teensy
Built-in controls enable users to create a fully functioning product:
Two knobs
One push button
4LEDs
10 demo Sketches include sample code for filtering, reverb, and VCO.
Jesse Brockmann built an autonomous rover for the SparkFun AVC where’s he’s competed for the last 4 years, winning in 2016 and 2017.
Jesse started working on his first rover in 2011 and finished it in 2014 to compete in the SparkFun Autonomous Vehicle Competition. He offers some great advise for people helping to build their own. He says the most important parts are the brains, his uses a Teensy 3.5, the Inertial Measurement Unit (IMU), and the RPM sensor. Another important consideration is the base platform. Jesse uses a 4×4 platform with a low center of gravity.
Zaite12, an RC Airplane enthusiast, added a flight system (TwinAir project) to a custom made RC air plane make it safer to fly in the case of engine failures.
Zaite12 and a friend have been flying RC model airplanes for a number of years and have watched many twin engine aircraft tragically crash – mostly due to one engine failing. A plane can be landed safely after an engine fails, but it is no trivial task.
The pair had been talking about building a twin engine airplane and this got Zaite12 thinking about how to more reliably deal with the inevitable loss of an engine. Humans are not reliable enough for this task, but a computer is. He got to work on a system to manage a long list of tasks. While the Teensy 3.1 he started with quickly ran out of inputs and outputs, a Teensy 3.6 had what he needed to make the project happen.
The key features included in the system are:
– PWM edges from the 8 output channels of the RC receiver have to be accurately timed
– Output/control of all servos
– Engine RPM
– Airspeed
– Ground logic through the use of a proximity sensor (possibly in future we will use squat switches)
– RPM synchro using a PID loop to make the aircraft “sing” and not “wah wah wah”
– Telemetry downlink and voice annunciations on the FrSky X9D Taranis Plus transmitter we use (e.g. “Right engine fail”)
– Execution flow is critical and must not block for any significant time, under any circumstances, even if a sensor fails or physically disconnects
– Fallback assumptions in the event that one or more sensors fail (e.g. ground proximity)
– Datalogging of all important data for subsequent analysis
Soon the initial design goals were complete and they pair could deliberately cut an engine in flight, the rudder was managed automatically by the new flight system, and the aircraft could still be flown.
Here is an example of the telemetry data displayed on the receiver
In this video their custom RC aircraft experiences a genuine engine failure and they are able to keep it flying.
Code for the project can be found in this forum post.
Arduino “having11” Guy took a gumball machine and stepped it up a notch by adding LEDs, WiFi, and an LCD Screen – just to name a few improvements
This ultimate gumball machine features an interactive TFT display that allows users to dispense gumballs and change the LED colors. A Teensy 3.5 provides the processing power needed to drive the display.
Projectitis ported an XM player (libxm by Artefact2)to Teensy to make the project work. The player was originally built with a Teensy 3.6, but it should work on a Teensy 3.5 or Teensy 3.2 as well.
This sleek keyboard is made with minimal components for a small footprint. It has 2 hand clusters with 25 keys each and 2 thumb clusters with 5 keys each.
The code is a fork of TMK and you can find it on GitHub.
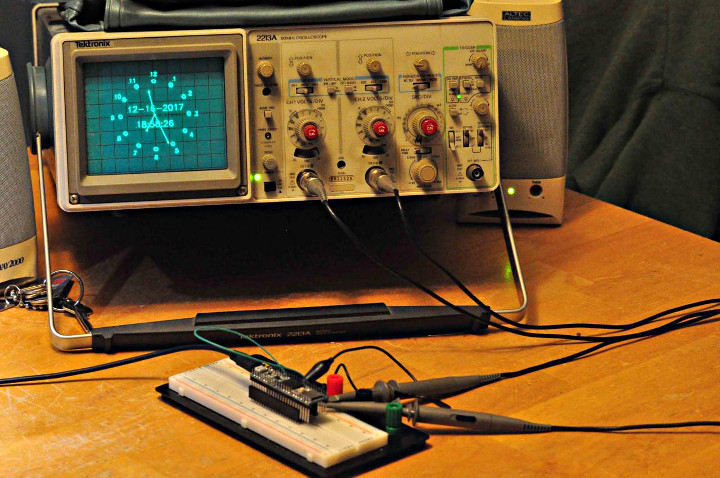
As a collector of antique oscilloscopes and fan of engineer/composer Jeroboam Fenderson, he was inspired to build this stereo player.
Using a Teensy 3.2 and an Audio Shield, the player cycles through stereo .WAV files loaded on a micro SD card. The left and right channels drive the x and Y axis on the oscilloscope.