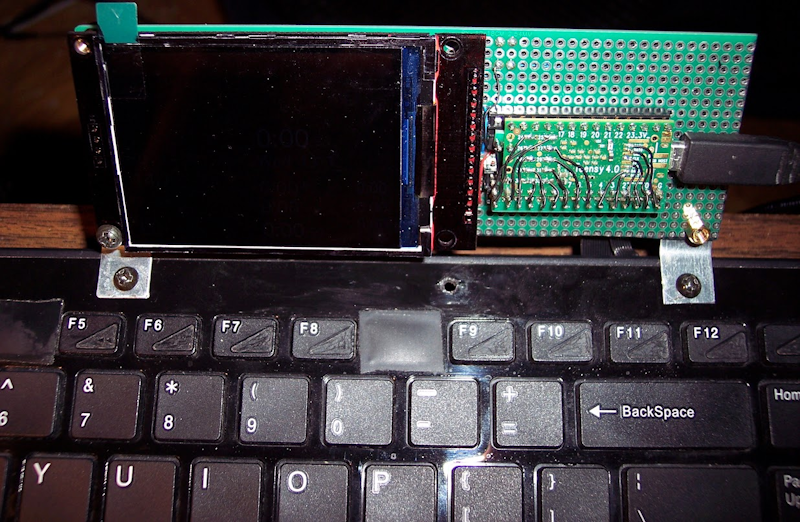
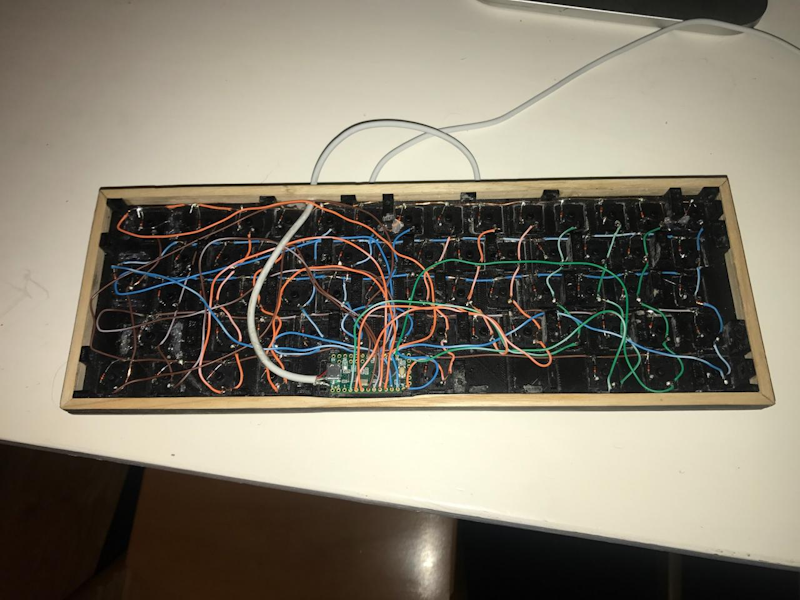
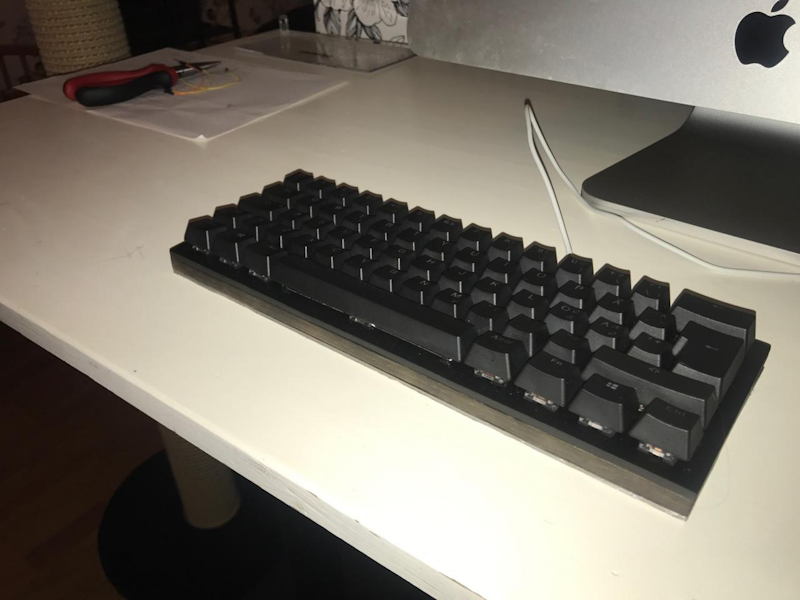
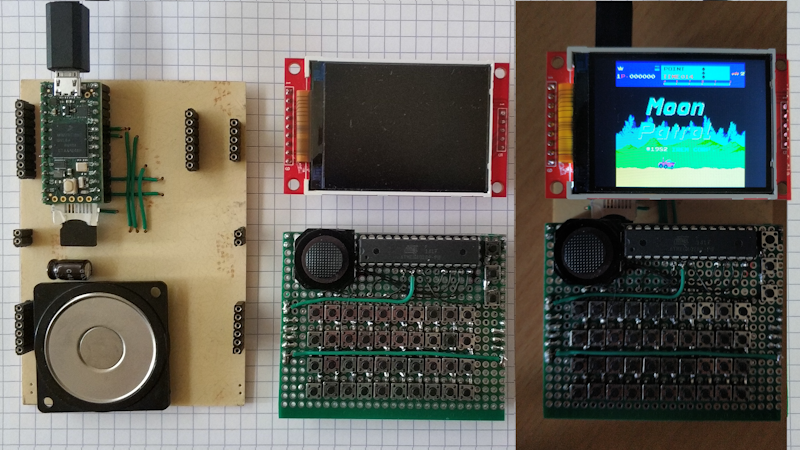
We’ve covered PJRC forum member CryHam’s Teensy 3.2-powered KC Keyboard Controller before, but now it’s back with a significant upgrade, in the form of the Teensy 4.0-based K.C.4 controller for matrix keyboards.
If you have an inexpensive dome-switch keyboard that lacks the features of higher-end mechanical keebs, like key mapping, layers, macros, and a screen that can run demos, games, and an RTC-backed clock…although…wait — we’re not sure we’ve seen that on any keyboard, come to think of it?! — so maybe give K.C.4 a look regardless!
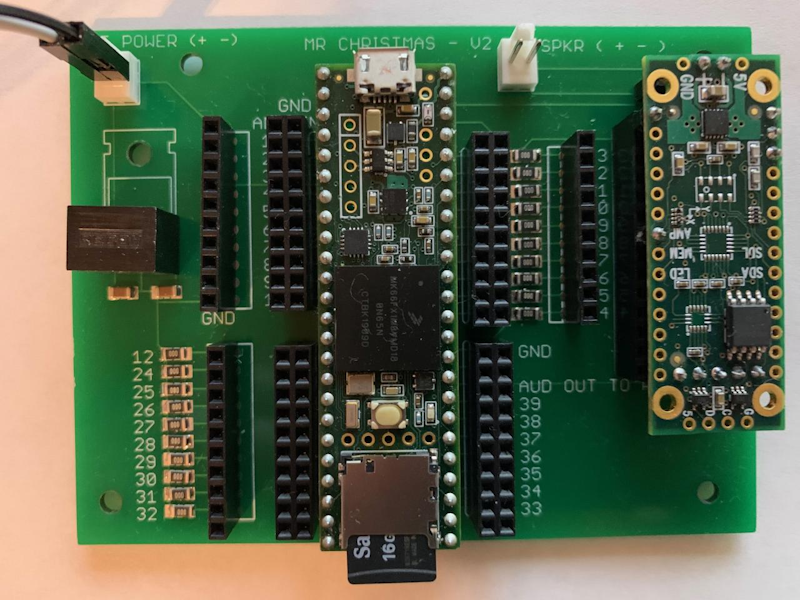
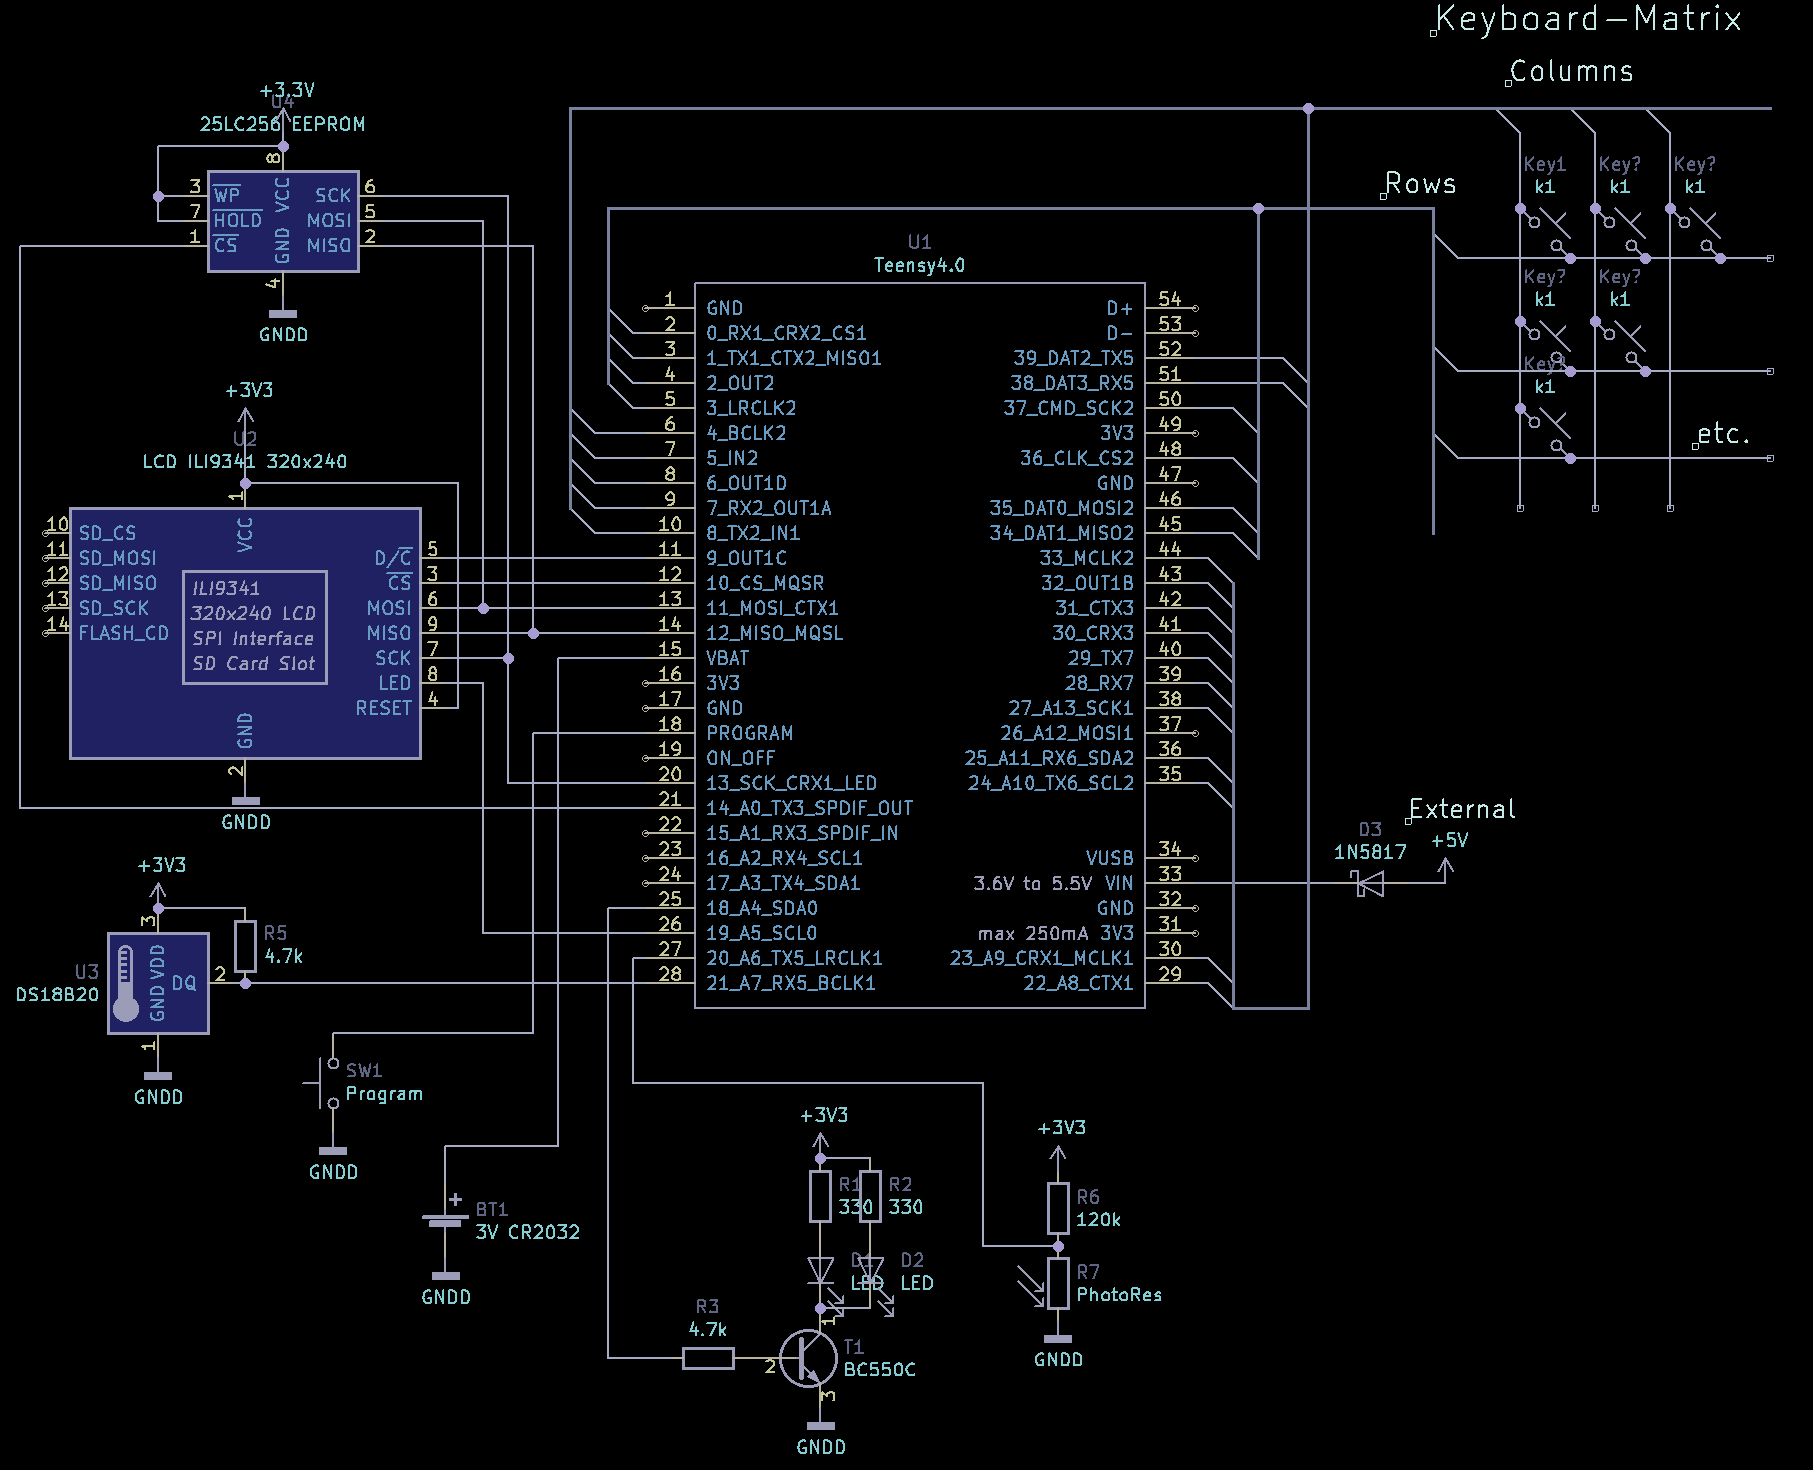
Configuration starts as simply as a Teensy 4.0 and ILI9341 TFT LCD display. Adding serial EEPROM such as a 25LC256, a DS18B20 1-wire temperature sensor and 4.7k resistor, and LED/photoresistor will get you all of the bells and whistles, such as temperature graphs, and an external 5V power supply will even let you display and retain data without PC power.
A wealth of information can be found on the project page, with source and schematic available on GitHub, and various demos available on YouTube, as well as the one below.
