Some music producers like the hands on, computer-free, tactile experience of twiddling knobs on a modular rack. Others prefer a USB control surface connected to a PC.
But Sebastian Tomczak envisioned a scenario with the best of both worlds: a direct interface between USB MIDI controllers and CV-based Eurorack synths — without the bulk and expense of a computer in the middle!
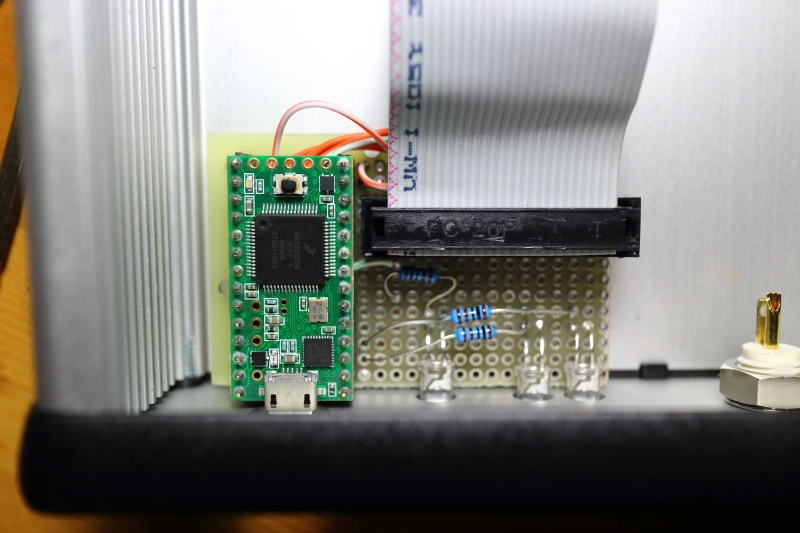
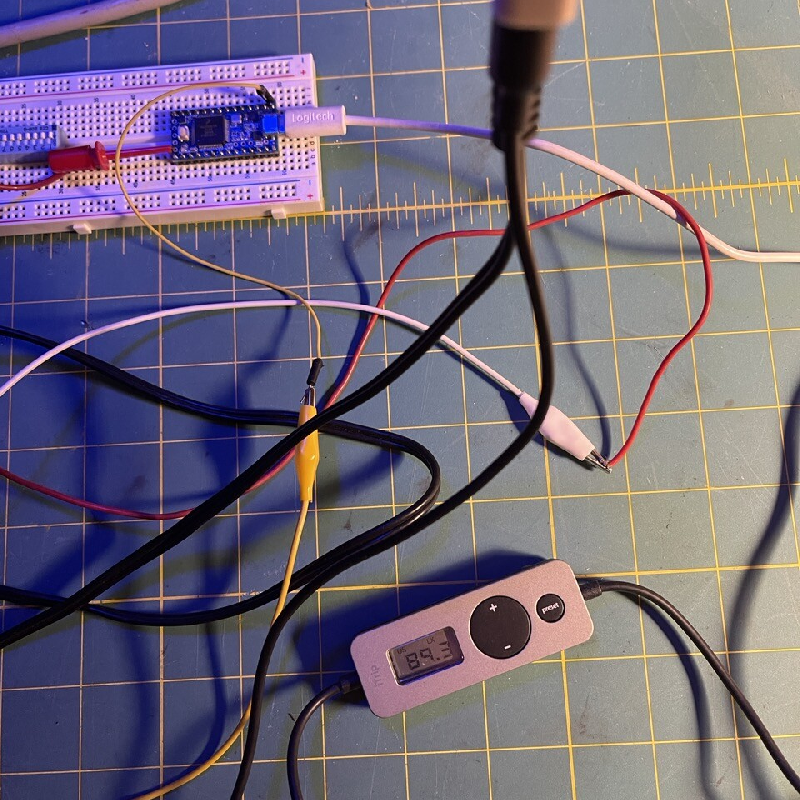
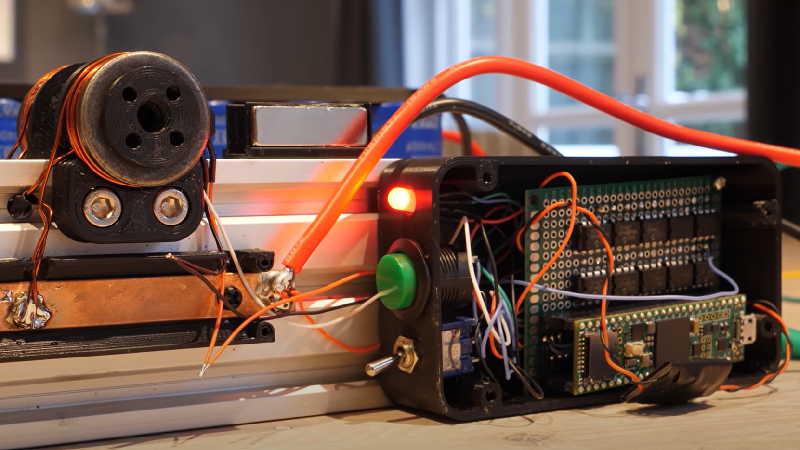
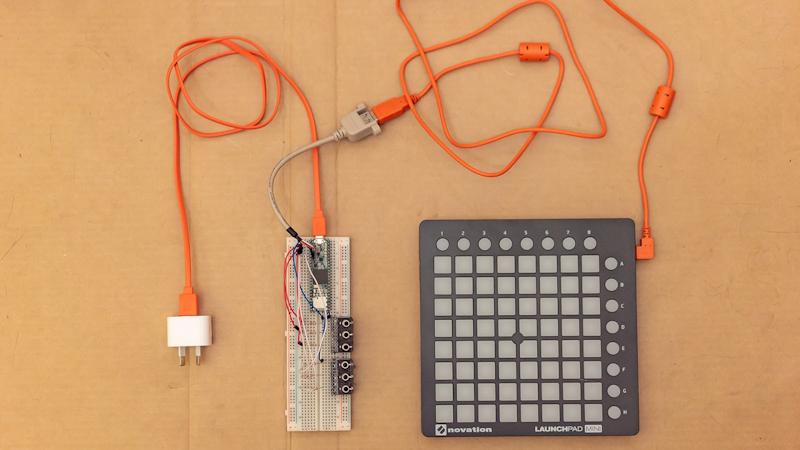
The Teensy 3.6 has a USB host port (requires soldering of pins and USB Host Cable), and the ability to read and write voltages, as required to interface with a Eurorack system. This makes it the perfect intermediary between the two, and completely obviates the need for a computer.
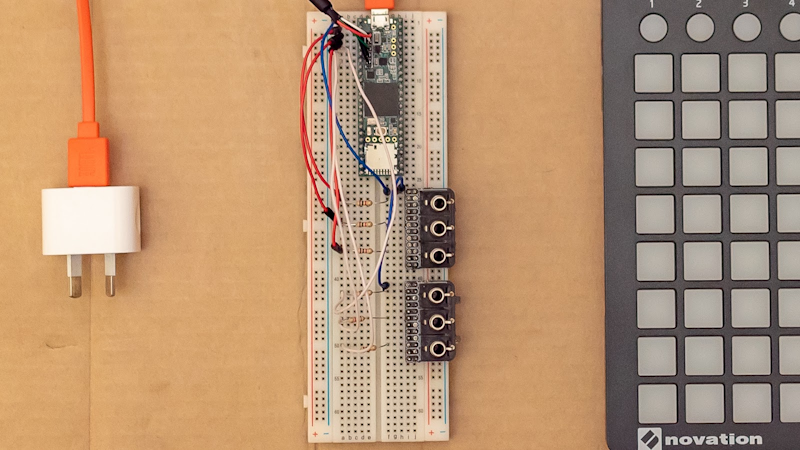
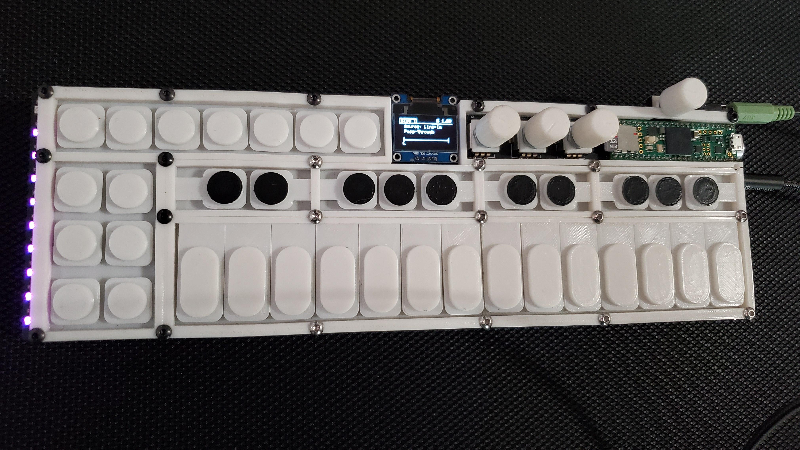
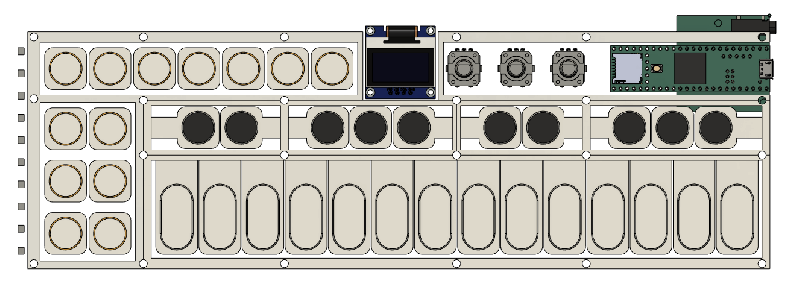
With the addition of some 1k resistors and standard 3.5mm Eurorack sockets, plus code to read and store button presses in an array, a simple yet effective pattern sequencer can be realized. Additional detail can be found on Sebastian’s blog, while the example code resides on GitHub, and a sequencing demo can be found in the video below.
NOTE: PJRC recommends caution when interfacing Eurorack signals with Teensy. The Teensy 3.6 pins can be damaged by voltage higher than 3.3 volts, or below ground. Many Eurorack modules use -5V to +5V or -10V to +10V signals. Opamps, buffers, or other circuitry are typically needed to safely connect these higher voltage signals to Teensy’s pins.