This is an older project from 2012, firmware to control el wires by MIDI.
Hand-Eye Supply used it for their 2012 float in the Starlight Parade.
Their prior float was controlled by the Vixen X-mas lighting software. For 2012, Laurence wanted to make the float interactively respond to sounds. Tobias investigated different software and found excellent sound processing software, but no way to interface it to Vixen or last year’s firmware using Renard protocol. All sound processing software works with MIDI, so I decided to reprogram the controllers.
I wrote the MIDI firmware, just in time for their float kick-off party where the announce the winners of a contest for who will ride on the float. Lots of pictures and info on that Core77 page. This blog is about the technical details, making the el wires respond to MIDI control this year.
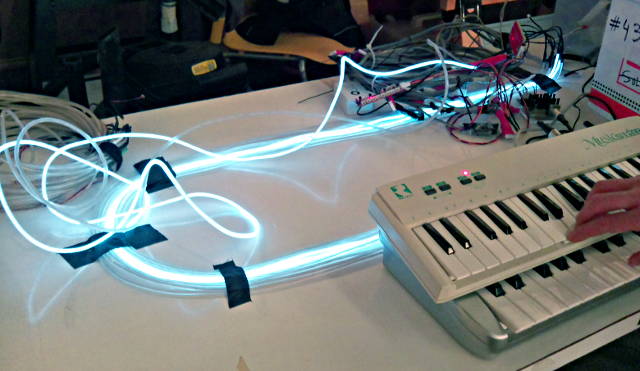
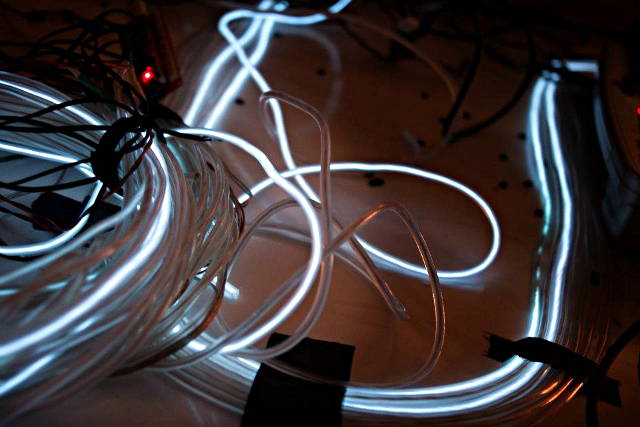
The el wires are controlled by this modified Sparkfun el wire sequencer.
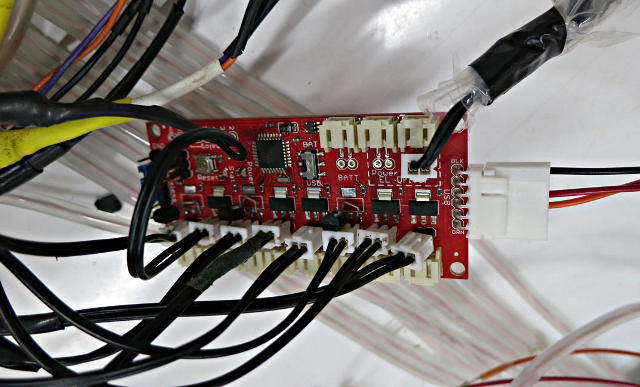
This is the same board that had many problems last year. You can see in the photo 3 of the triacs blew on this board and were replaced with TO-92 through hole versions.
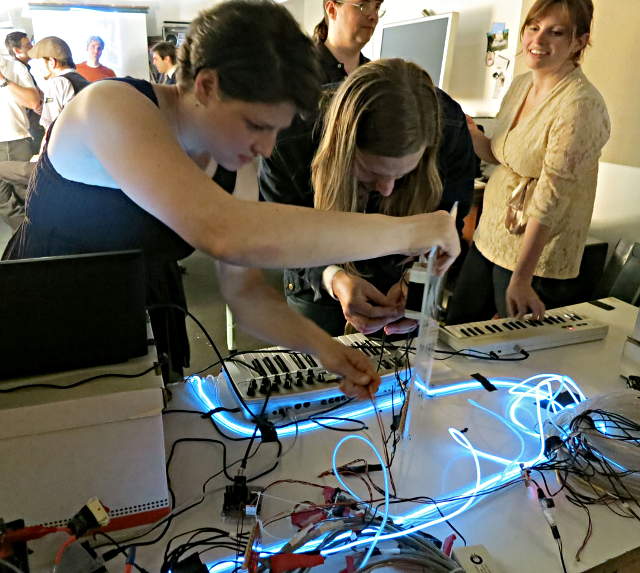
Here are Laurence Sarrazin and Tobias Berblinger reprogramming the sequencers, while Kathryn tries “playing” the lights.
The float runs on 15 sequencers, with 5 plexiglass panels having 3 sequencers and 3 cool neon “big boy” inverters per panel.
Here is the actual hardware I built for this year.
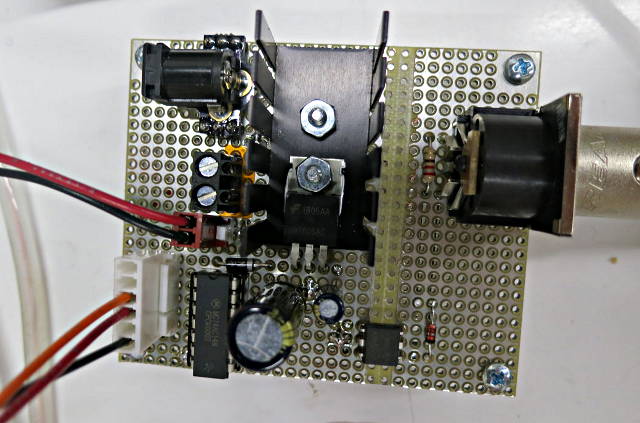
There’s no microcontroller. It just takes MIDI IN, goes through an opto-coupler, and then buffers the signal. Most of the space is a simple linear regulator to make 5 volts to send to the sequencers. Here’s a schematic:
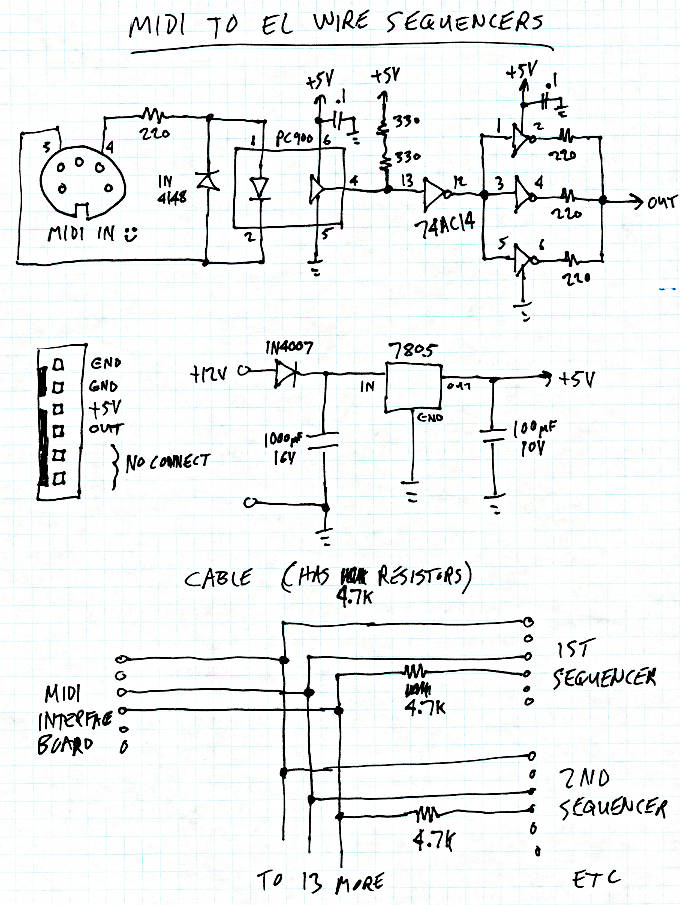
An important point is the 4.7K resistors in the cable. The sequencers have AVR chips running at 3.3 volts, so these resistors prevent the 5 volt signal from damaging them.
The same signal goes to all 15 boards. Jumpers on the edge of the board configure which 8 notes each board will “play”.

The firmware only listens for MIDI channel #1. It is “velocity sensitive”, with the following code:
uint8_t midi2intensity(uint8_t velocity)
{
        if (velocity < 6) return 0;
        if (velocity < 12) return 1;
        if (velocity < 18) return 2;
        if (velocity < 24) return 3;
        if (velocity < 30) return 4;
        if (velocity < 36) return 5;
        if (velocity < 42) return 6;
        if (velocity < 48) return 7;
        return 8;
}
Intensity 8 corresponds to fully on. Lower numbers, from 1 to 7, output PWM-like drive to the triacs for dimming.
The idea behind these scalings is most of the MIDI velocity range will make the el wires fully illuminate. El wire isn’t terribly bright anyway. But if someday dimming effects are desired, that low section of the range can be used (without having to reprogram all 15 boards again).

Unfortunately, the Sparkfun sequencer lacks any information about the phase of the AC waveform to the el wire, so the pulses must be many cycles instead of switching individual cycles (you don’t want to do fractional-cycle dimming, as would be done on resistive or inductive loads). The lowest couple intensities sometimes flicker as a result.
Here is the source code which runs on those sequencer boards.
This article was originally published in May 2012 (archive.org link) on the DorkbotPDX site. Since then, the DorkbotPDX blog section has vanished. I’m reposting it here with slight edits, to preserve the info. Today Teensy 3.6 supports USB host MIDI (and many keyboards no longer have 5 pin DIN MIDI connectors, only USB), and LED strips are now far more popular than el wire, but perhaps this old info and code may still be helpful for someone?