Ethernet Kit for Teensy 4.1
SparkFun is now manufacturing Teensy products. You can buy directly at SparkFun.

|
ETHERNET_KIT | Ethernet Kit for Teensy 4.1 |
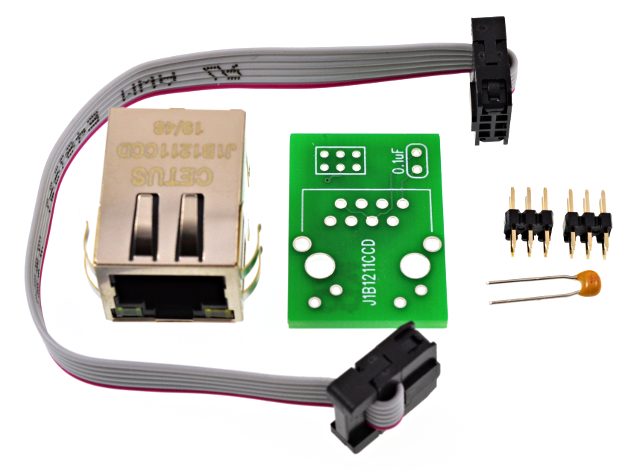
This kit has all the parts needed to connect to the Ethernet port on Teensy 4.1.
This kit includes an Ethernet MagJack, bare circuit board, ribbon cable assembly, 2 header pins, and a capacitor. DIY soldering is required.
Assembling The Ethernet Kit
The first step is to solder the capacitor.
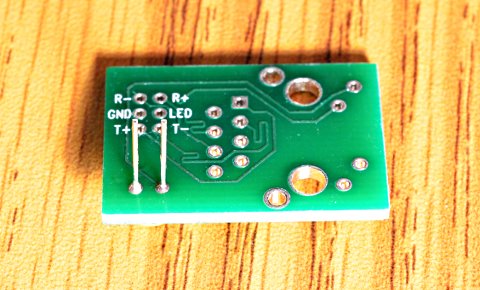
Next solder the header pins. After soldering 1 pin, turn the board over to check if the pins are at a right angle to the board. Once 2 or more pins are soldered, fixing crooked pins is almost impossible.
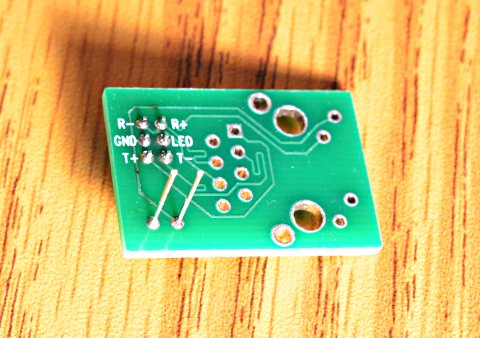
Last, solder the Magjack.
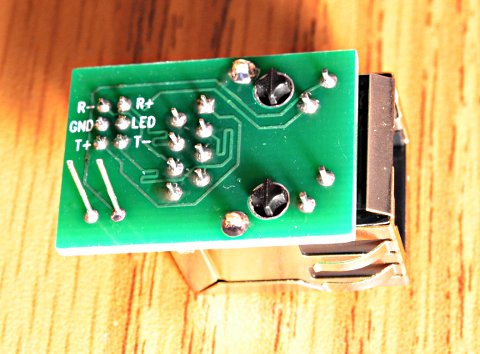
You will also need to solder the remaining header pins to your Teensy 4.1.
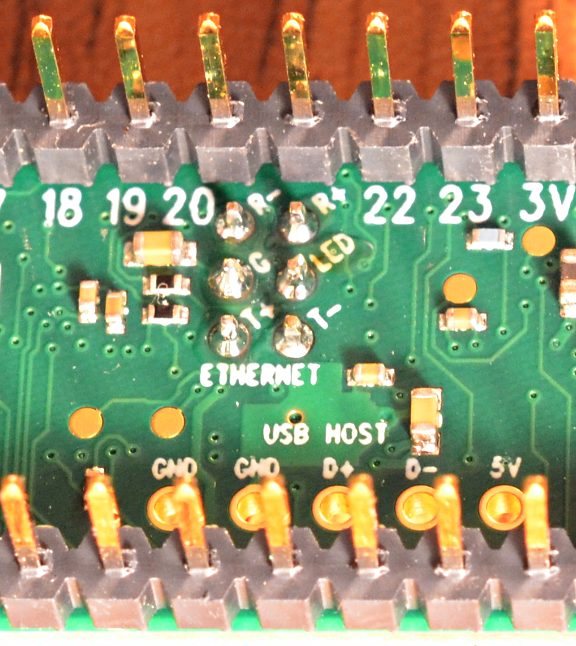
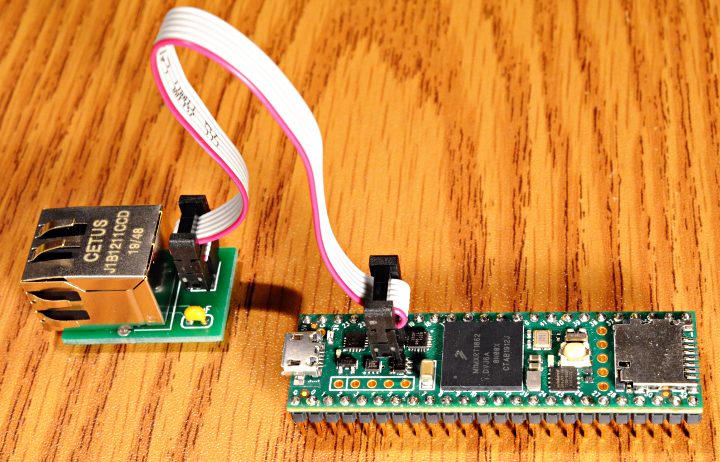
After soldering, plug the 2 boards together with the cable assembly.
Software Support
NativeEthernet library is included in Teensyduino 1.53. In Arduino, click File > Examples > NativeEthernet to get started.QNEthernet is an improved lwIP-based library by Shawn Silverman, which can be installed with the Arduino Library Manager. In Arduino, click Tools > Manage Libraries and search for "QNEthernet".
Technical Details
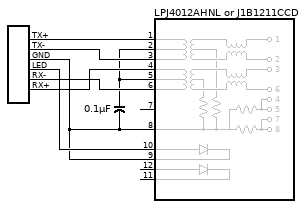
Link-PP LPJ4012AHNL Datasheet
Cetus J1B121 J1B12111CCD Datasheet
1   Ethernet Magjack         Link-PP LPJ4012AHNL or Cetus J1B1211CCD, Digikey 1278-1052-ND
1   Ribbon Cable Assembly    (see OSH Park page for DIY parts)
2   6 pin Header, 3x2        Generic 2mm pitch pins or Digikey 1849-1000-ND
1   Capacitor, 0.1 uF        Vishay K104K15X7RF5TL2, Digikey BC1084CT-ND
1   Bare Circuit Board
An earlier version of this kit used a slightly more expensive magjack. Only a hundful of these early kits were made for beta testing.